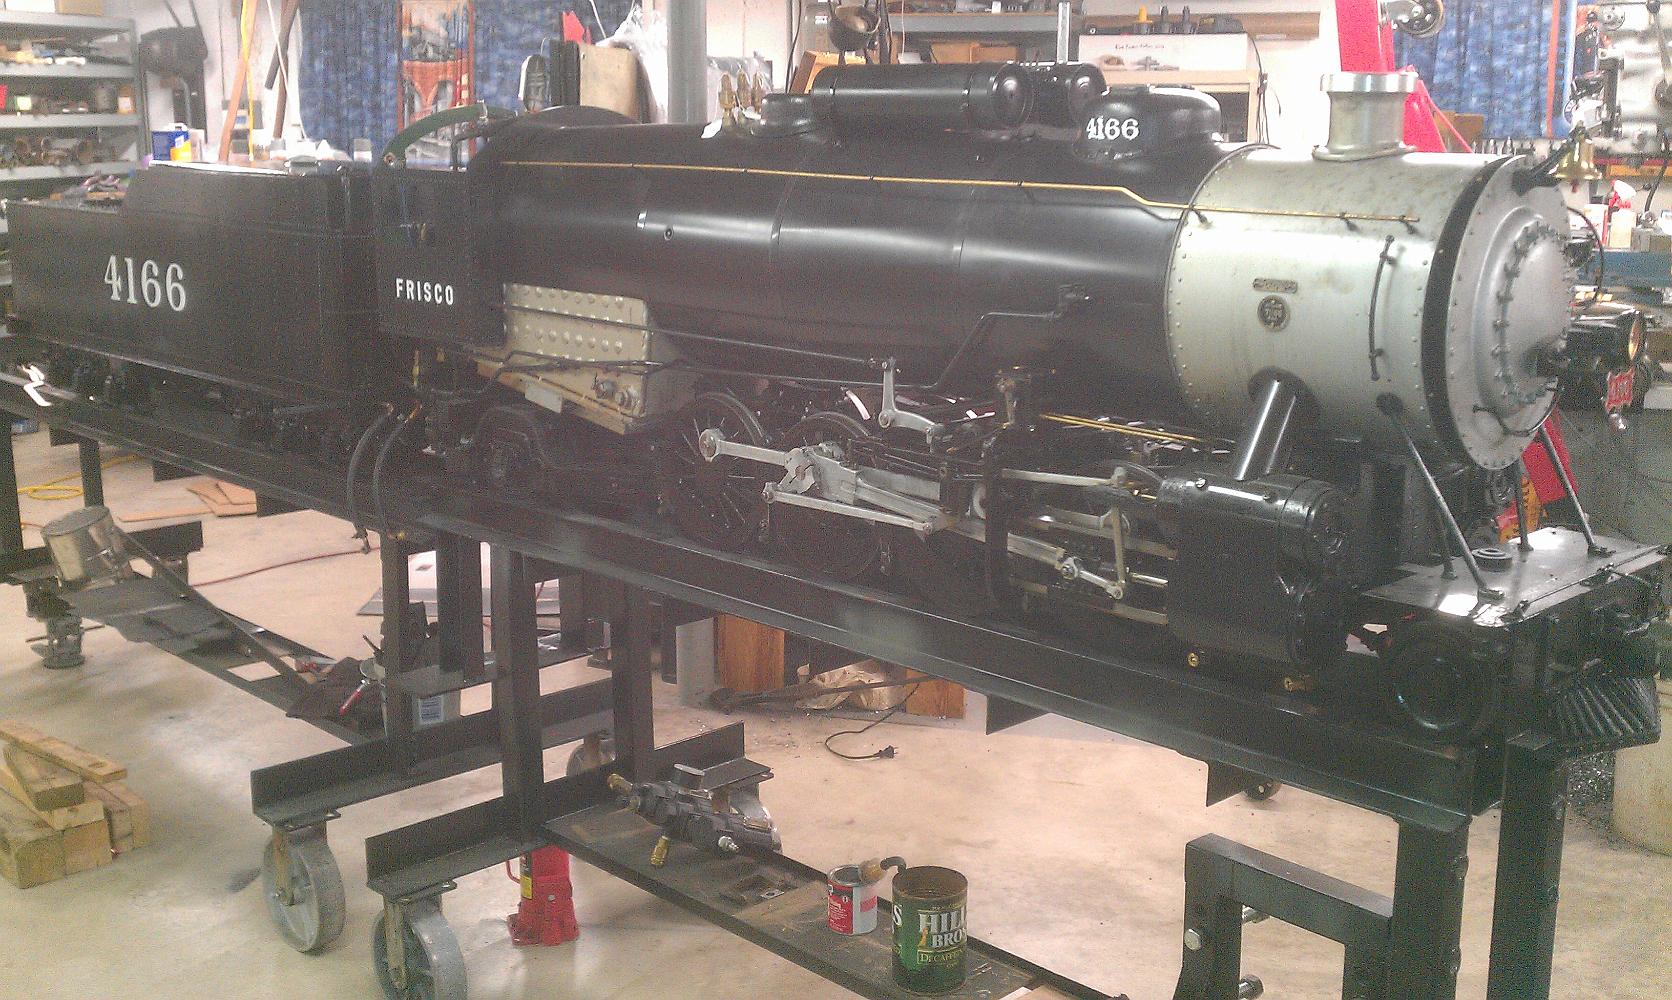
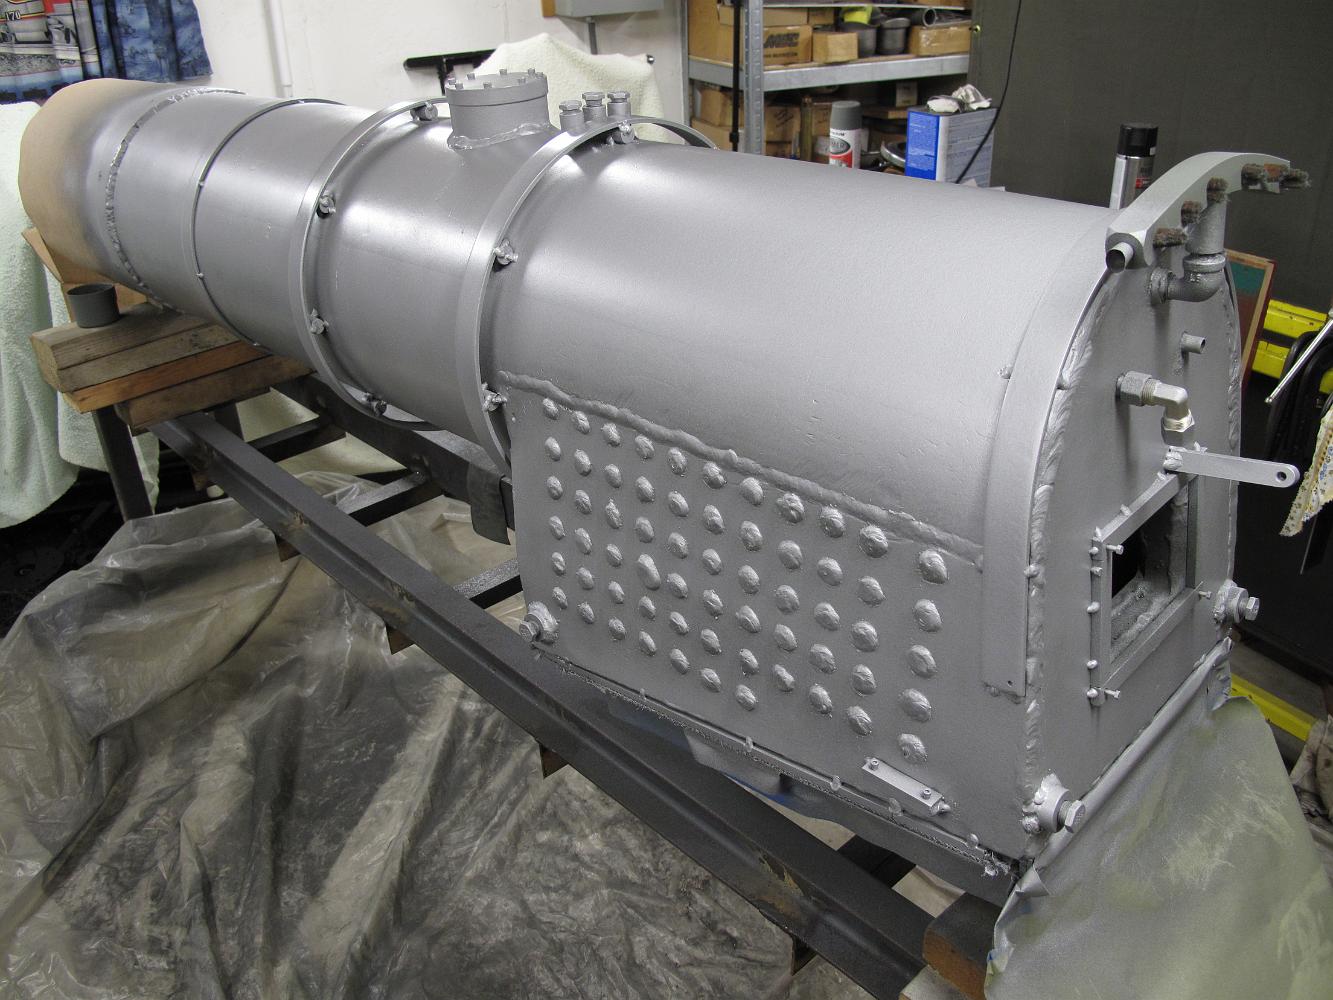
2019-04-06 The firebox with a fresh coat of silver paint.
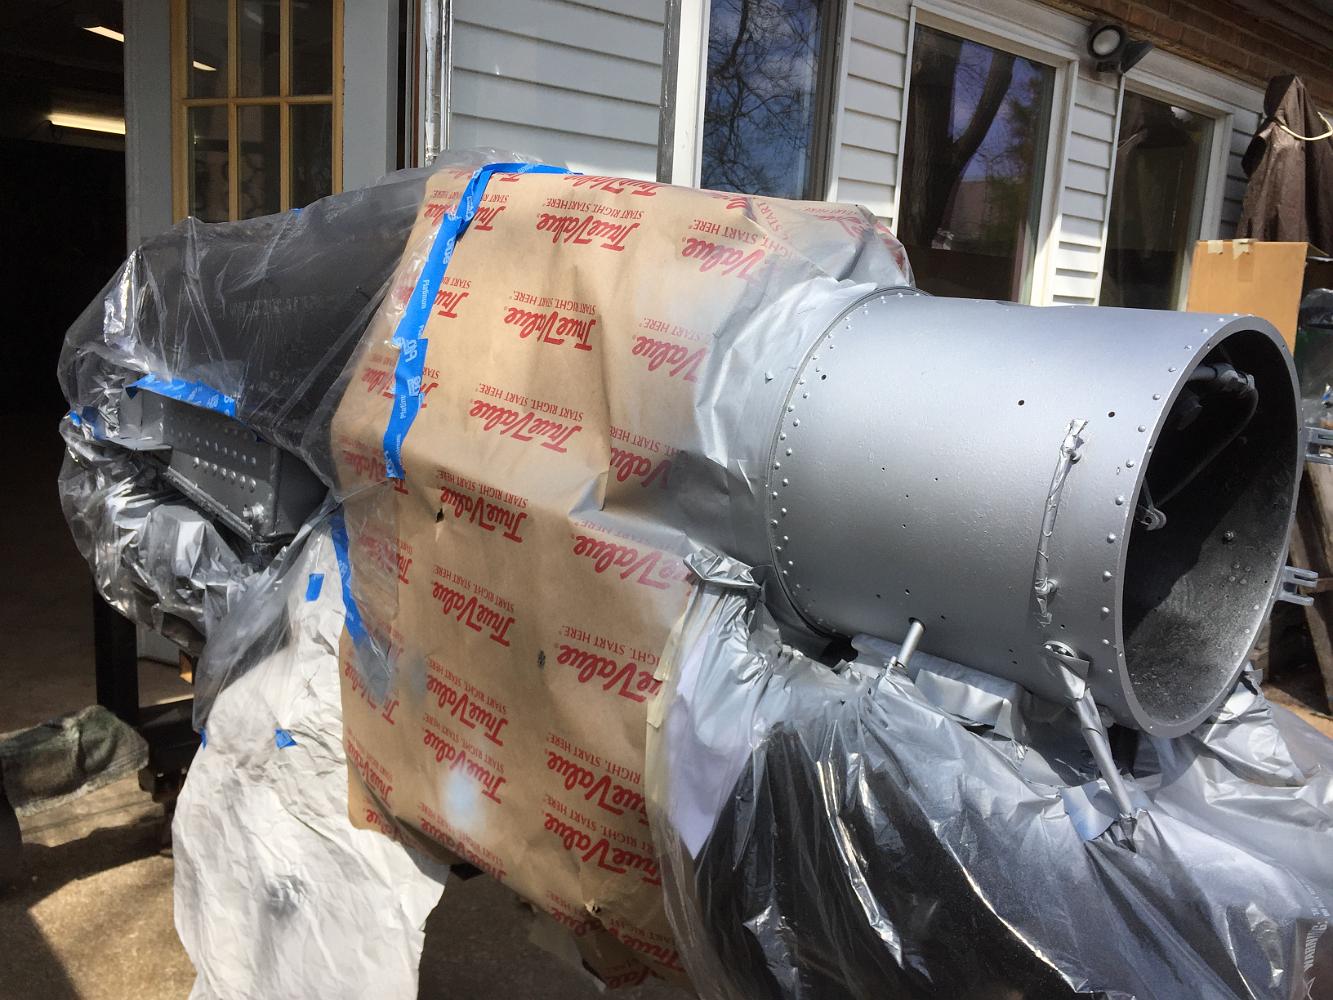
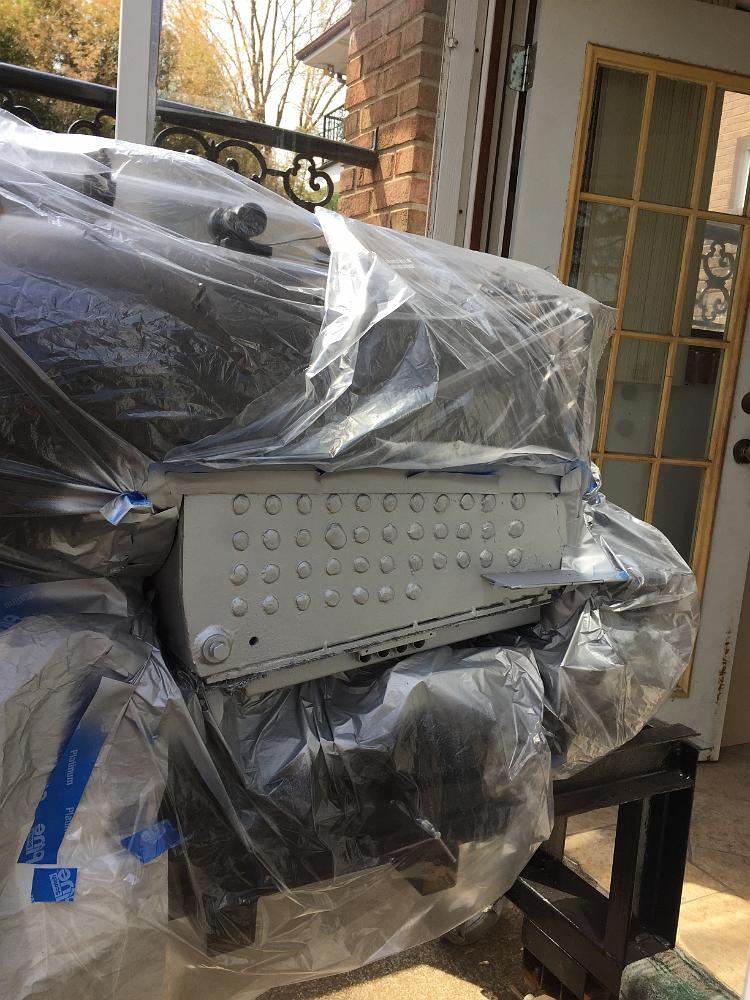
2019-04-05 - The silver paint was looking pretty shabby on the smokebox, so I clean it off with an air-powered needle scaler and wire wheel for new paint. It…
2019-04-05 - The silver paint was looking pretty shabby on the firebox, so I clean it off with an air-powered needle scaler and wire wheel for new paint.
2019-03-28 - One of the side effects of extending the smokestack and putting fresh paint on it was the rest of the smokebox looked pretty shabby. the smokebox…

2019-03-25 - A fresh coat of forest green paint is applied to the cab interior.
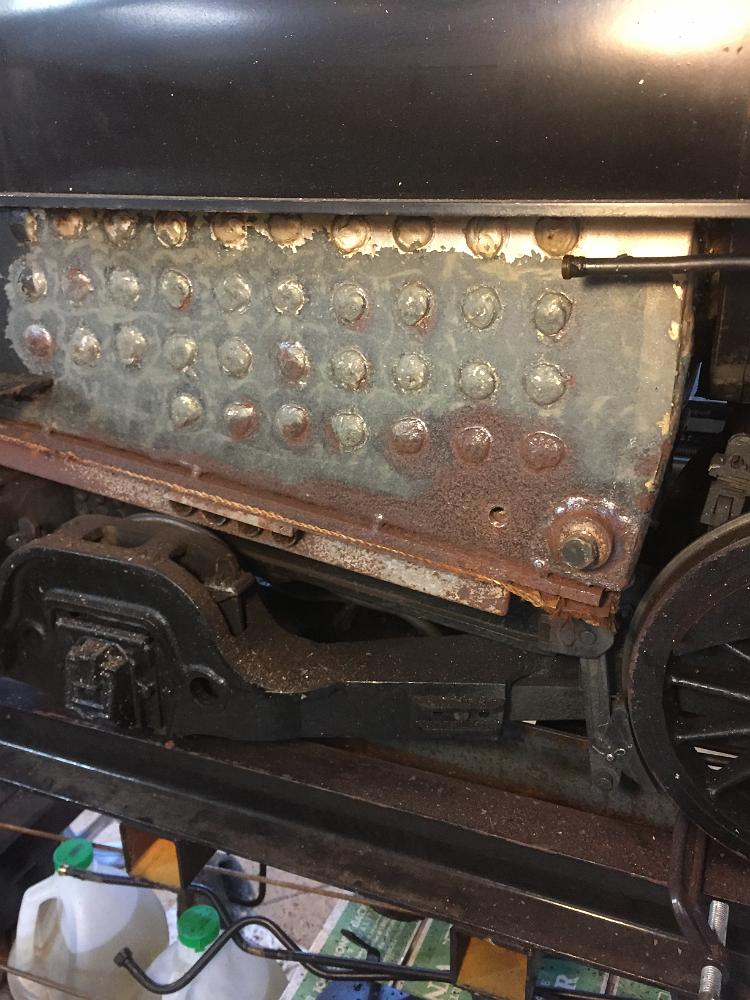
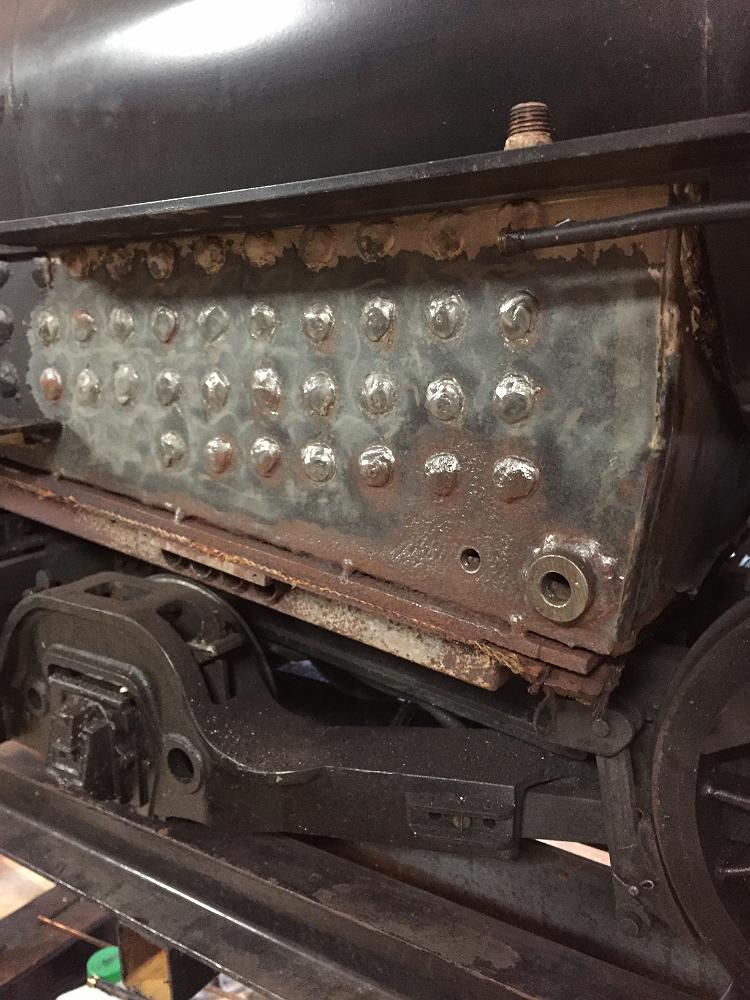
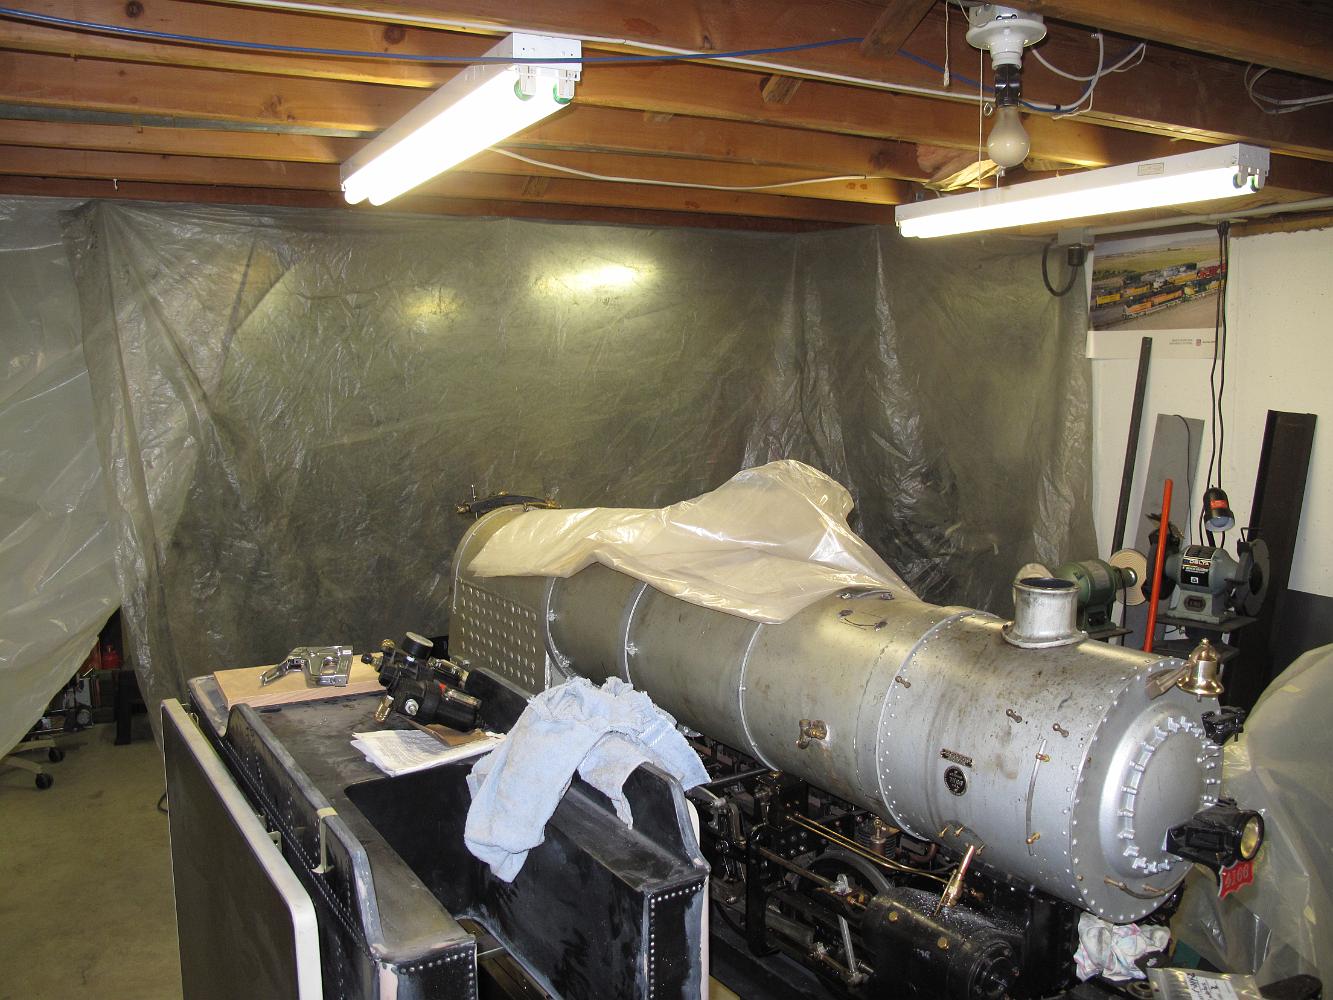
2019-03-24 - The firebox paint and rust is stripped away using an air powered needle-scaler and wire wheel.

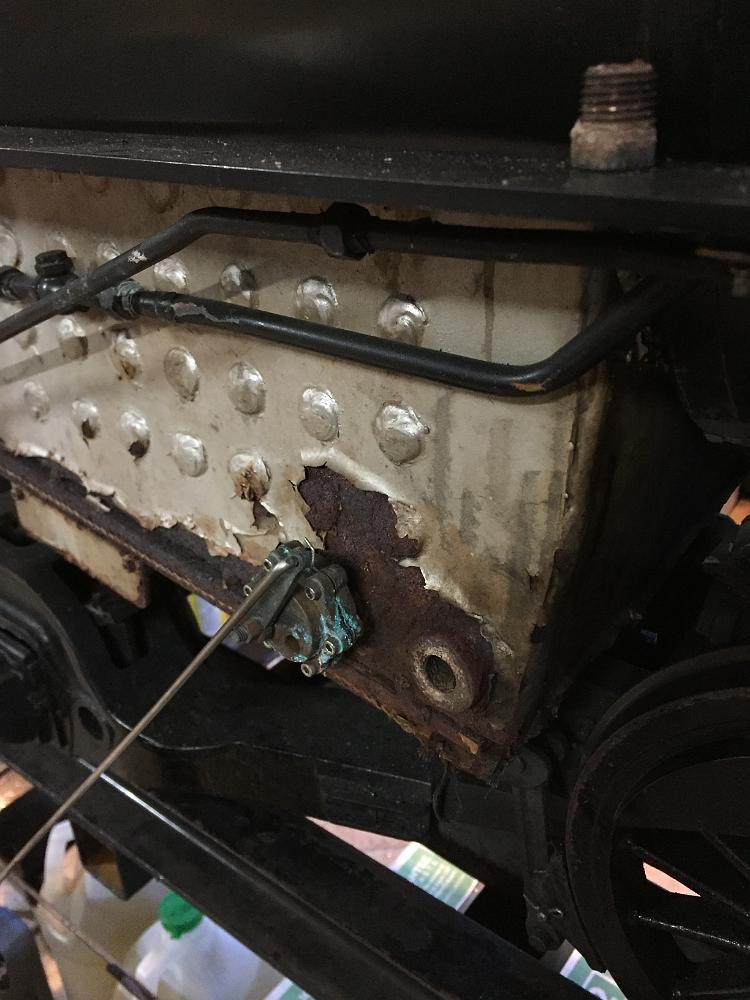
2019-03-24 - The rust and dirty paint is stripped from the smokebox, showing the green tint of the primer underneath, and rust at the edges.
2019-03-16 - Rust and peeling paint on the firebox
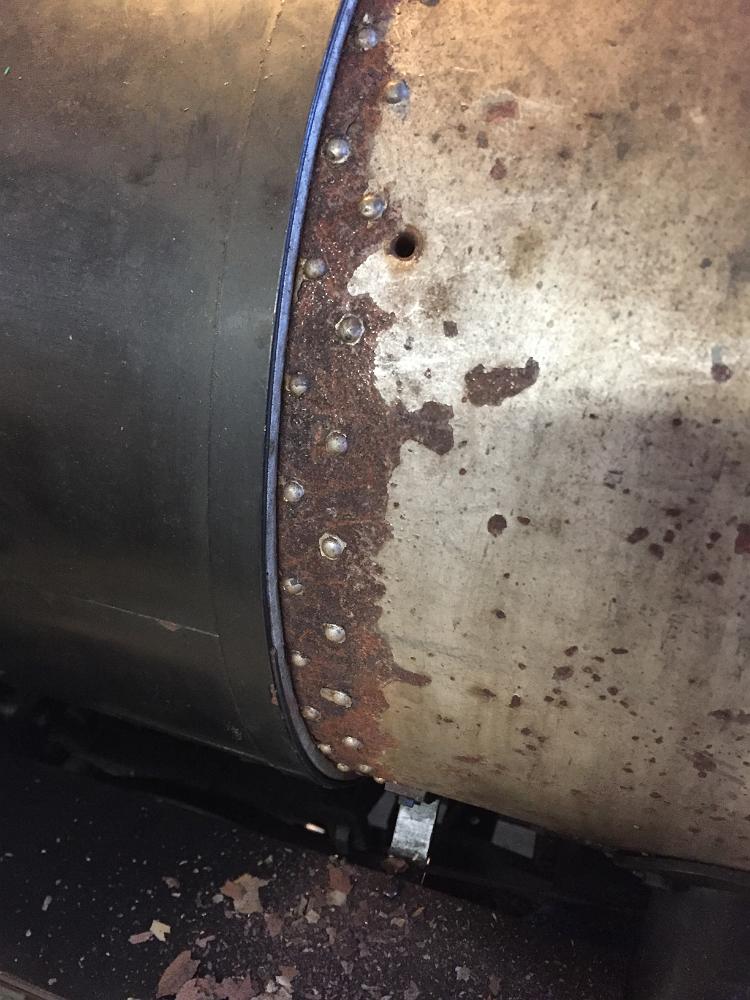
2019-03-16 - Rust and peeling paint at the smokebox - boiler connection.
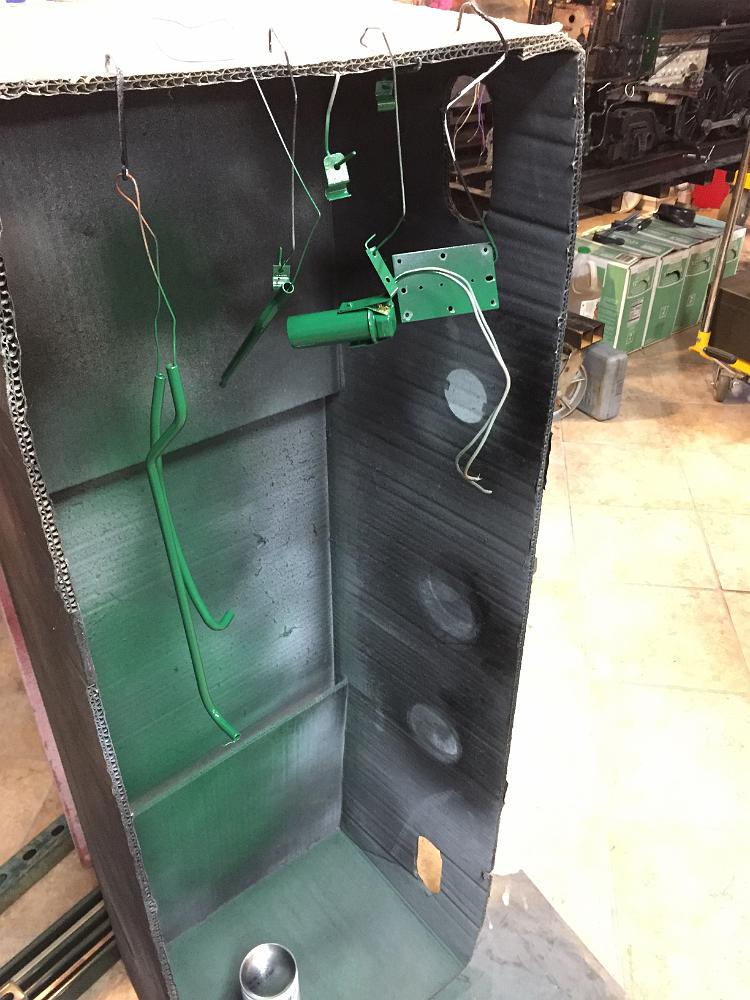
2019-03-14 - Green paint applied to the new cab electrical components
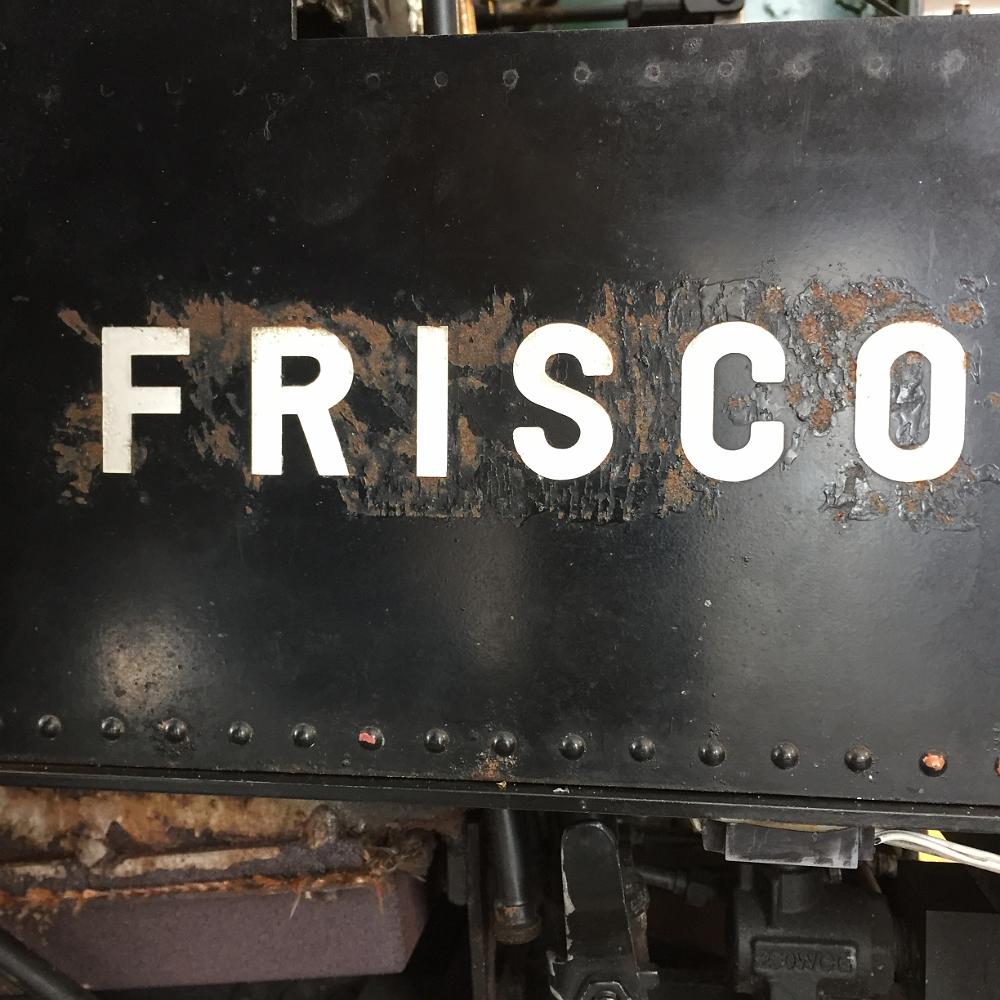
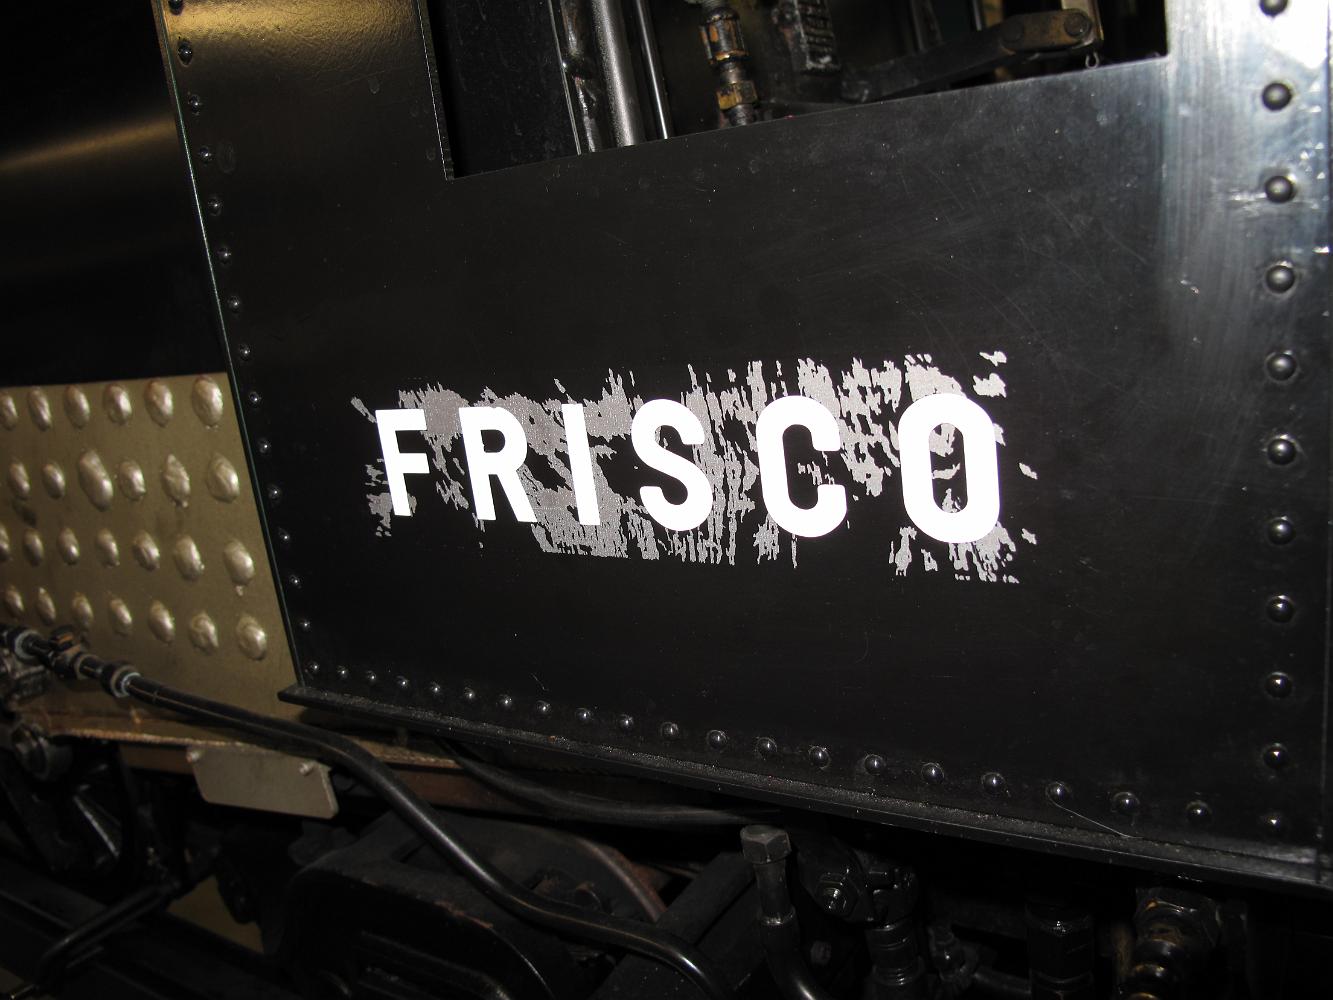
2019-03-03 - Time to hand scrape and fix this rust and peeling paint around the FRISCO lettering on the cab. It's looked pretty poor for some time, and has been…
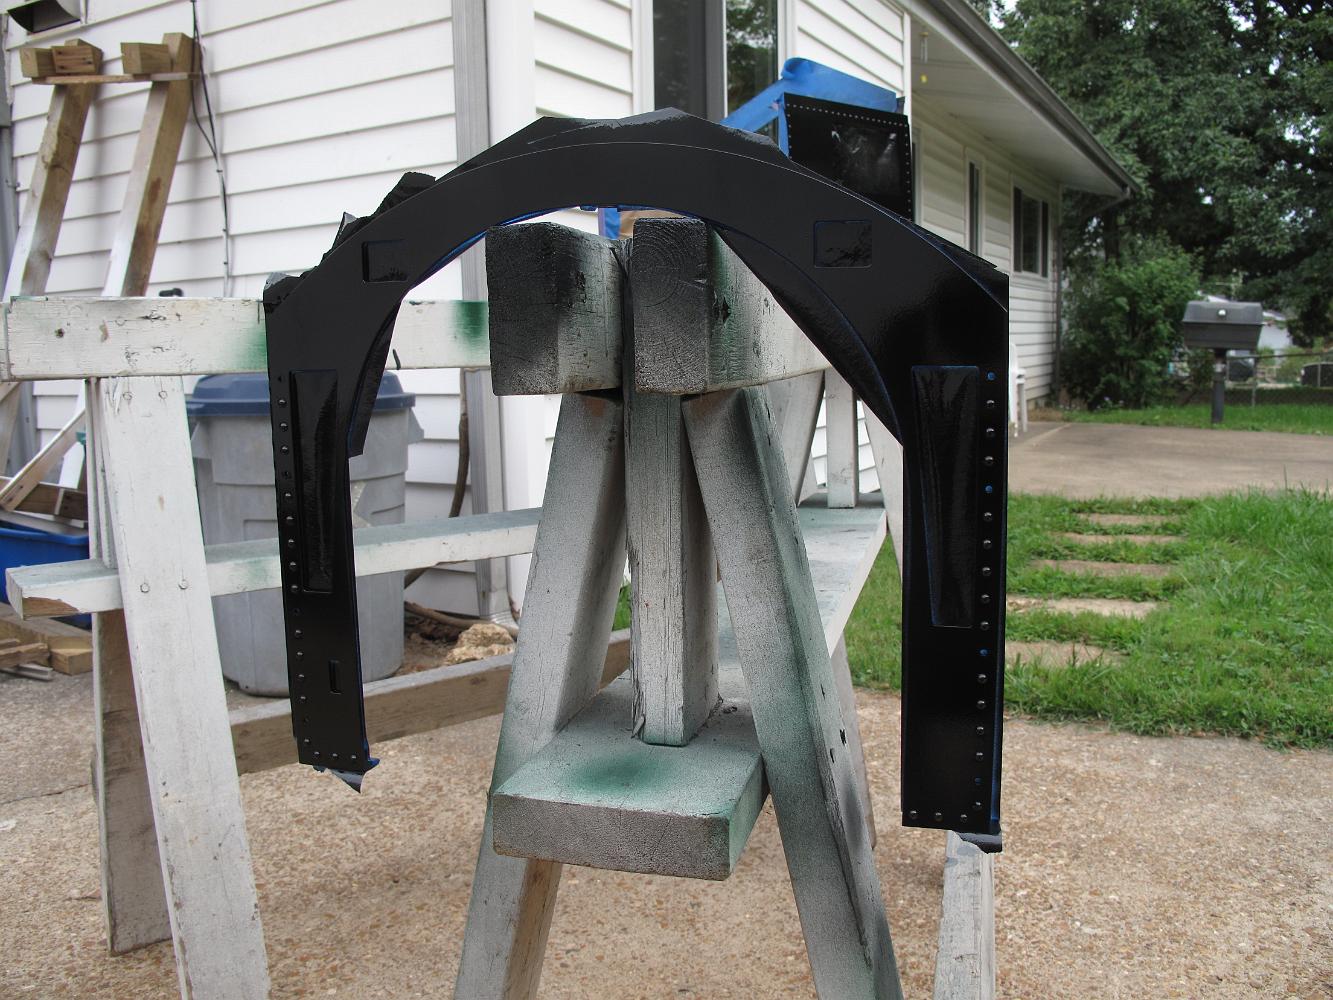
12-Apr-2014 A near disaster! I pressed the vinyl paint mask on good and tight on the sides of the cab to make sure the white lettering would not bleed through.…
12-Apr-2014 The rough casting texture of the sane dome was too uneven for the vinyl paint mask resulting in some paint bleed. Some time with a tiny paint brush and black paint was required to touch up the bleed.
12-Apr-2014 The vinyl paint mask worked well stretching over the rivets.
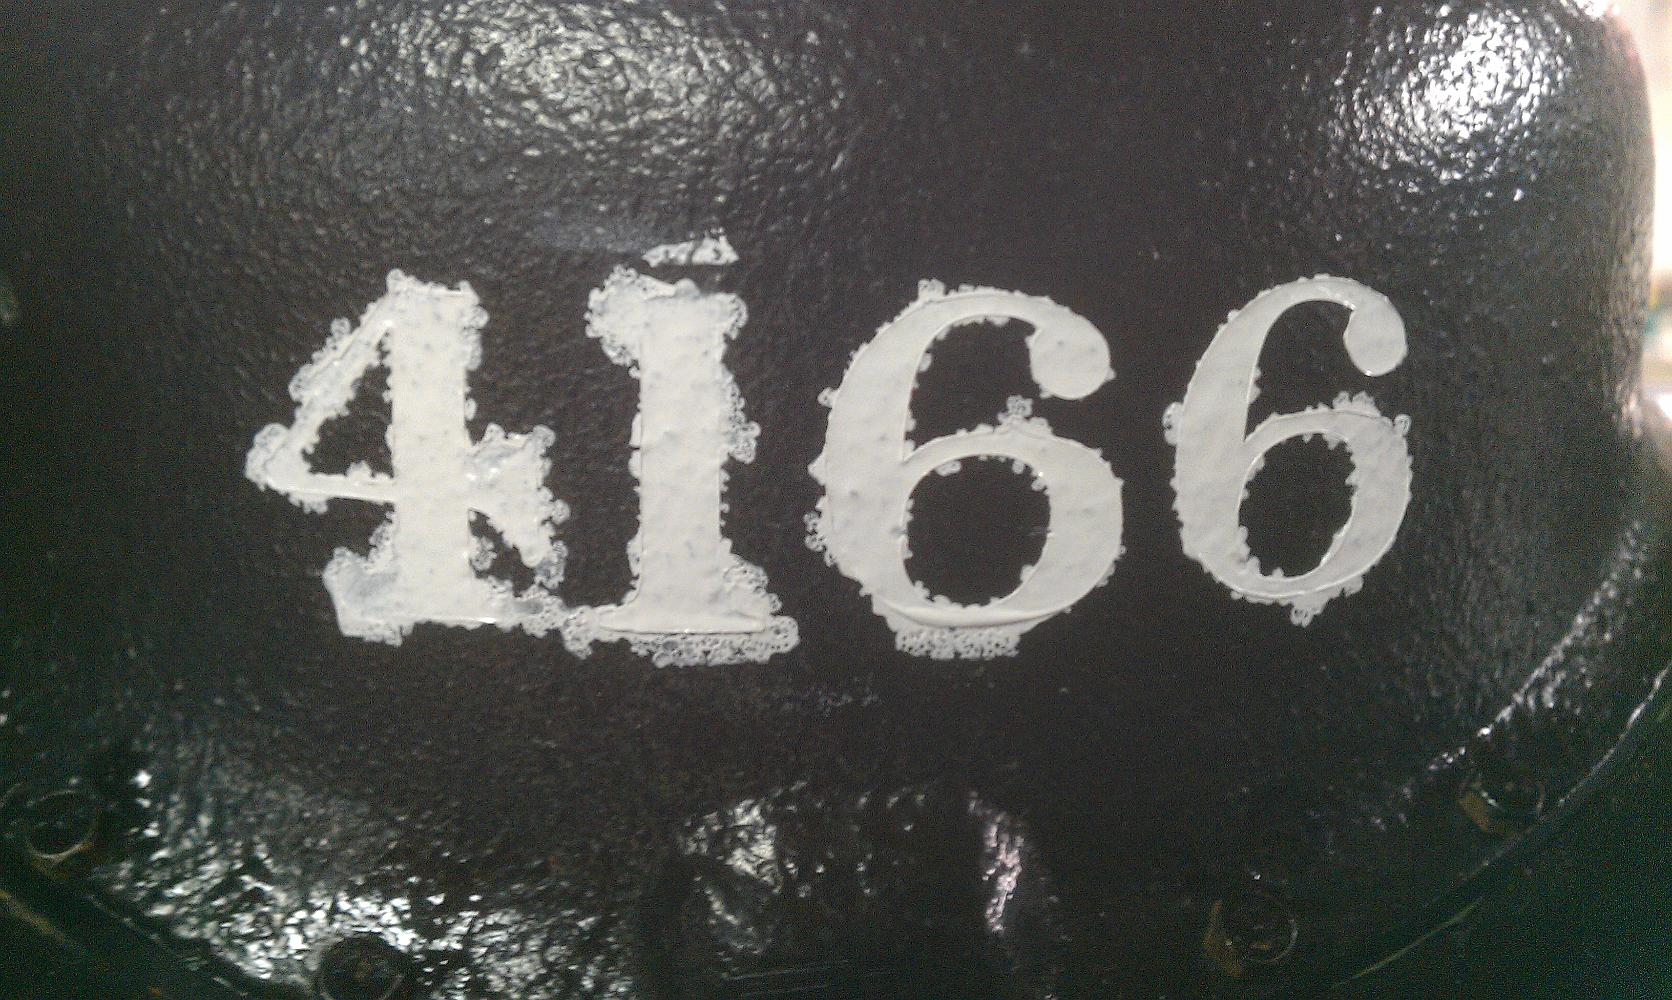
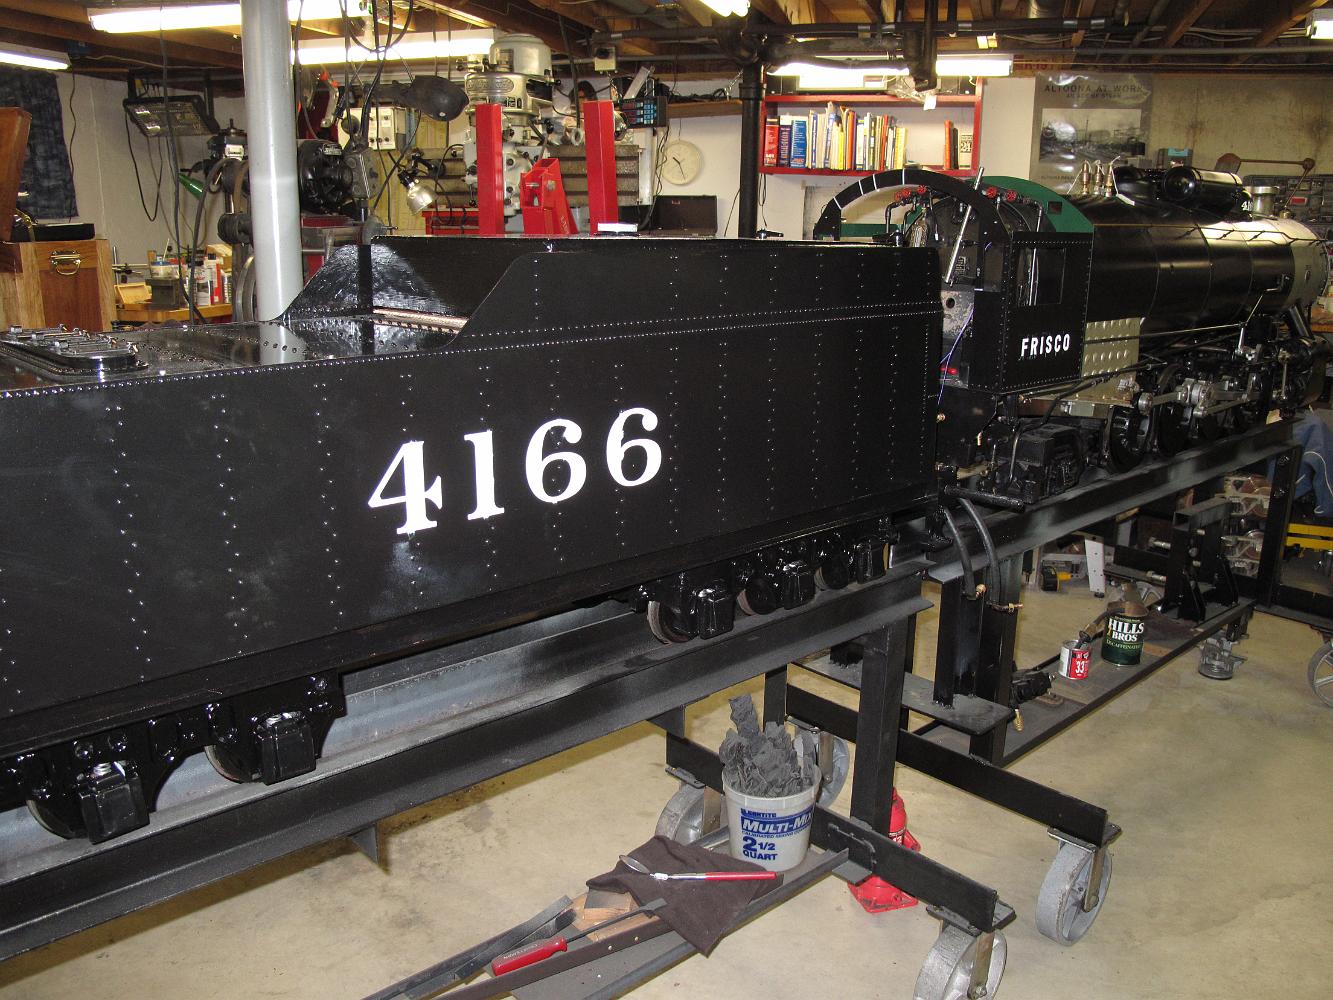
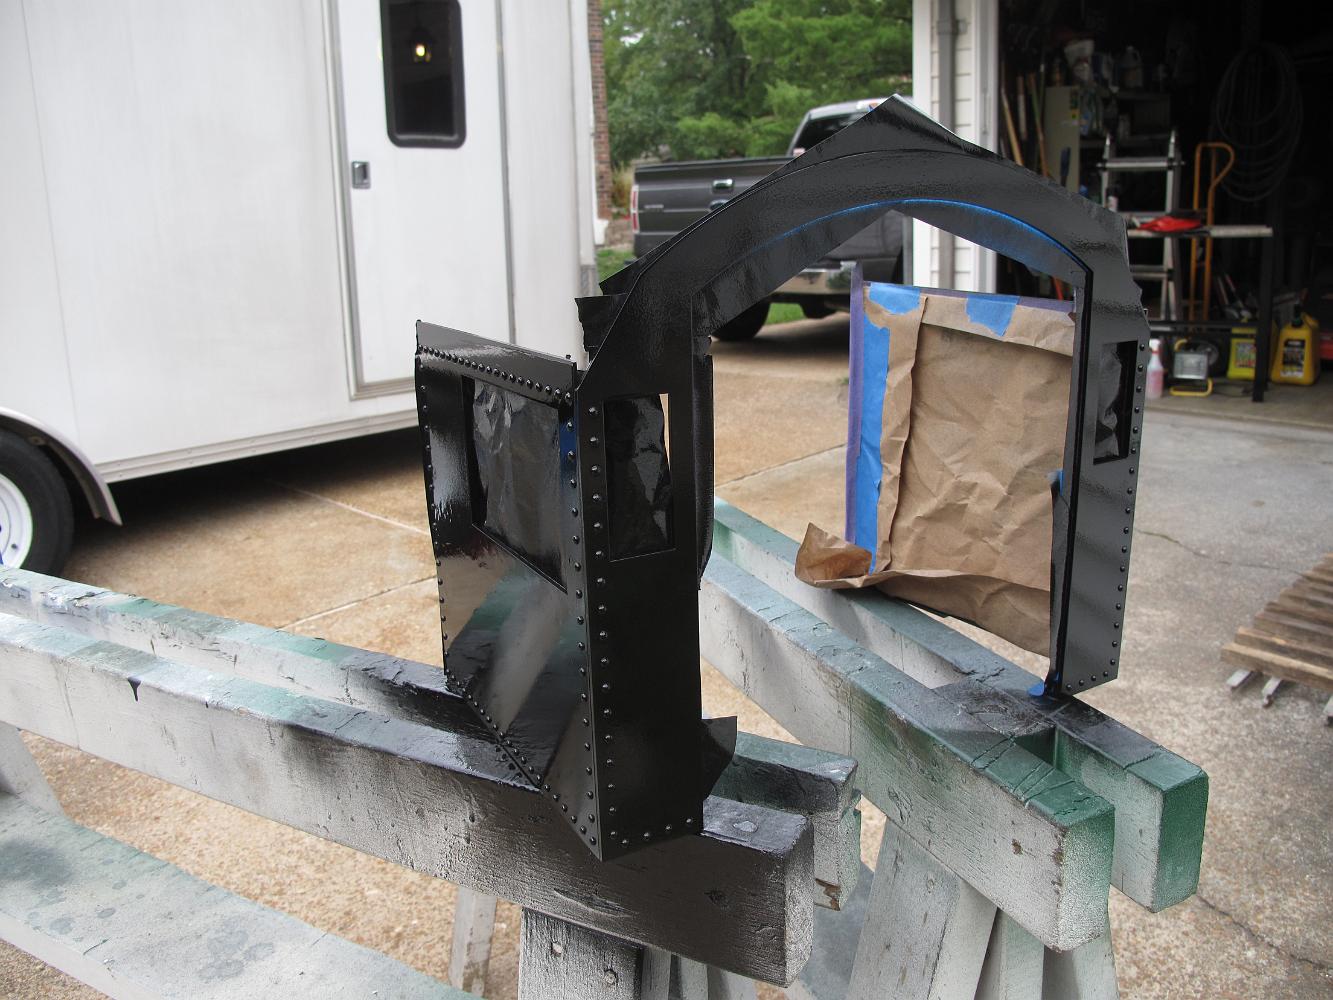
24-Apr-2014 With paint masks from Connie Miracle Graphics, the engine and tender get numbered and lettered. I use appliance enamel white paint, which covers the black well and give a thick hard coat of paint.
12-Apr-2014 The engine air cooler pipes get primered with automotive etching primer paint and later painted black.
12-Apr-2014 The Tender deck and tender truck parts all get a coat of primer and black paint.
12-Apr-2014 ?Picture of a blotch of black paint? No, just a pic of the tender truck journal ends after painting.

28-Oct-2013 Tender tank, upside down, with two coats of primer and black paint. Once again, I am running out of warm weather to paint things. At least the…
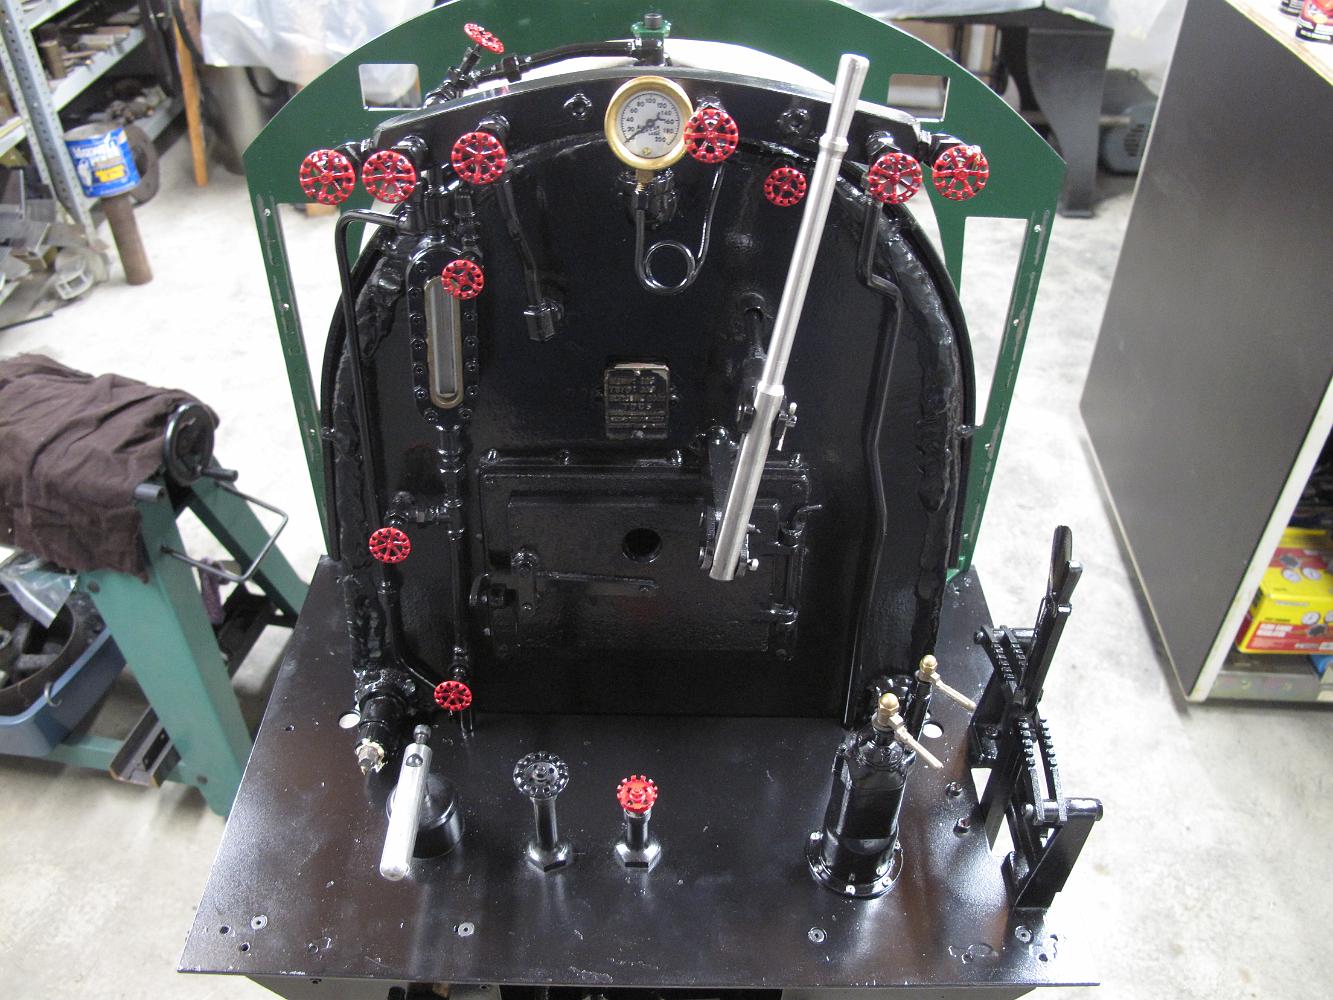
September 2013 The cab floor was painted separately, as was the brakestand and cab interior. After everything dried, the steam valve handles were painted red…
August 2013. I didn't put a dropcloth down on the floor before I primed and painted. Boy, did that make a mess. I spent time with a putty knife hand scraping…
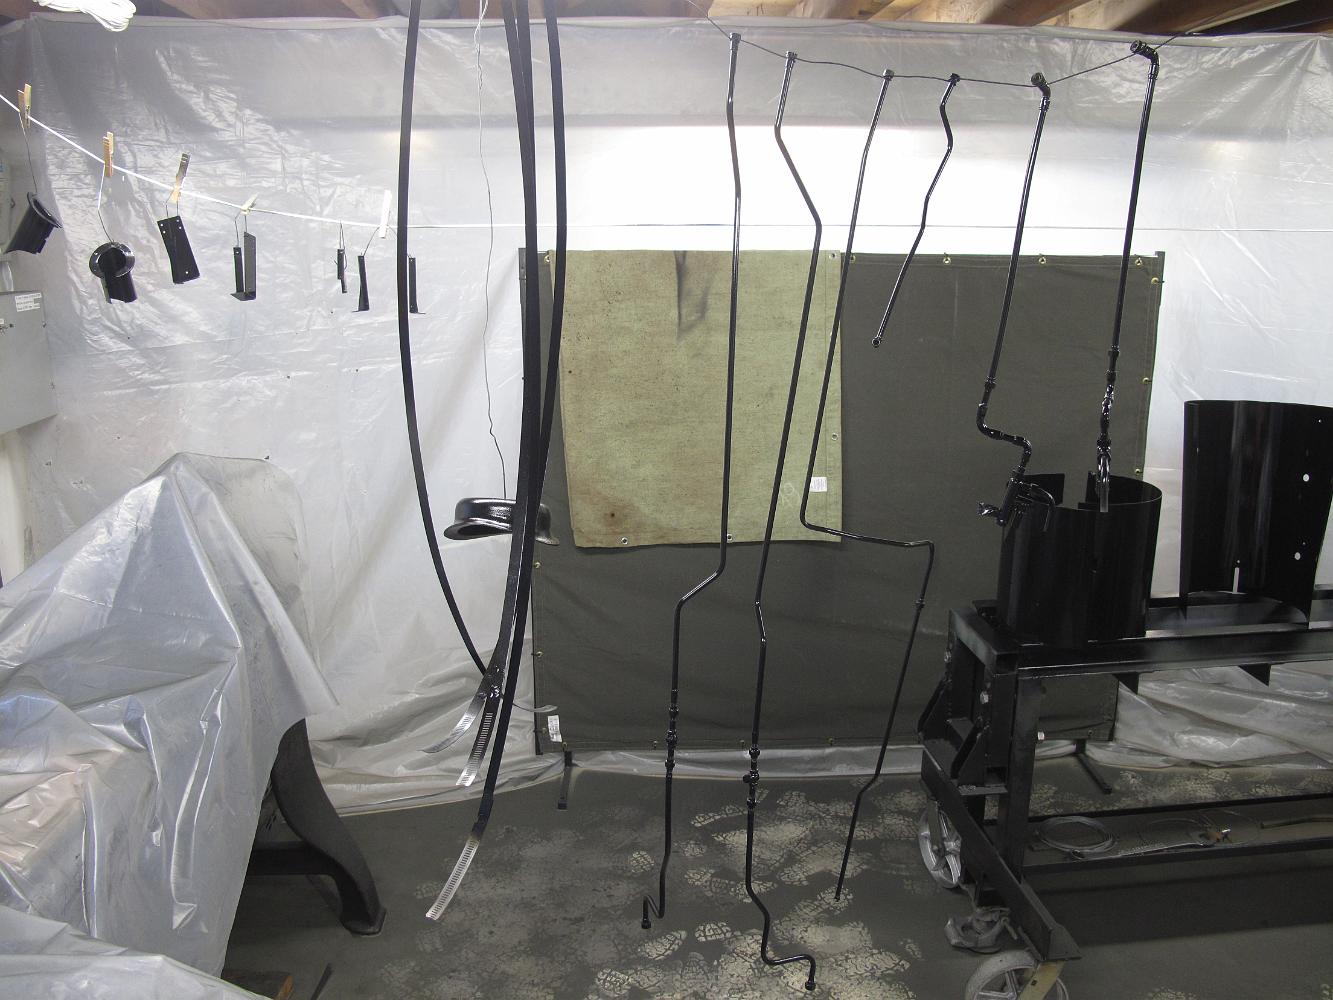
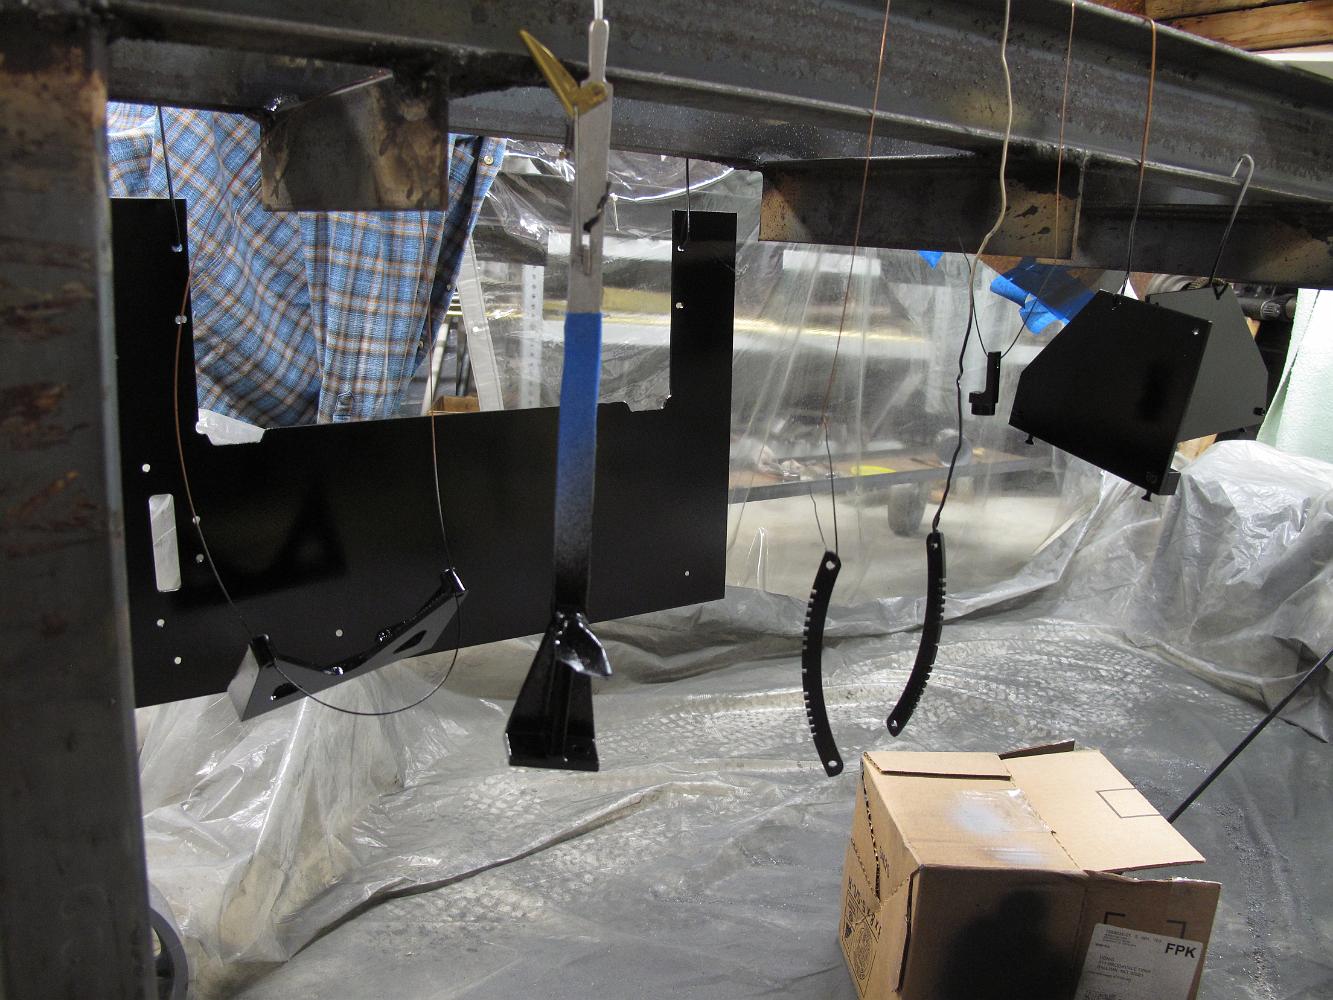
August 2013 Inside the paint tent, boiler bands, piping and a rope line with small parts hang to dry with a coat of paint.
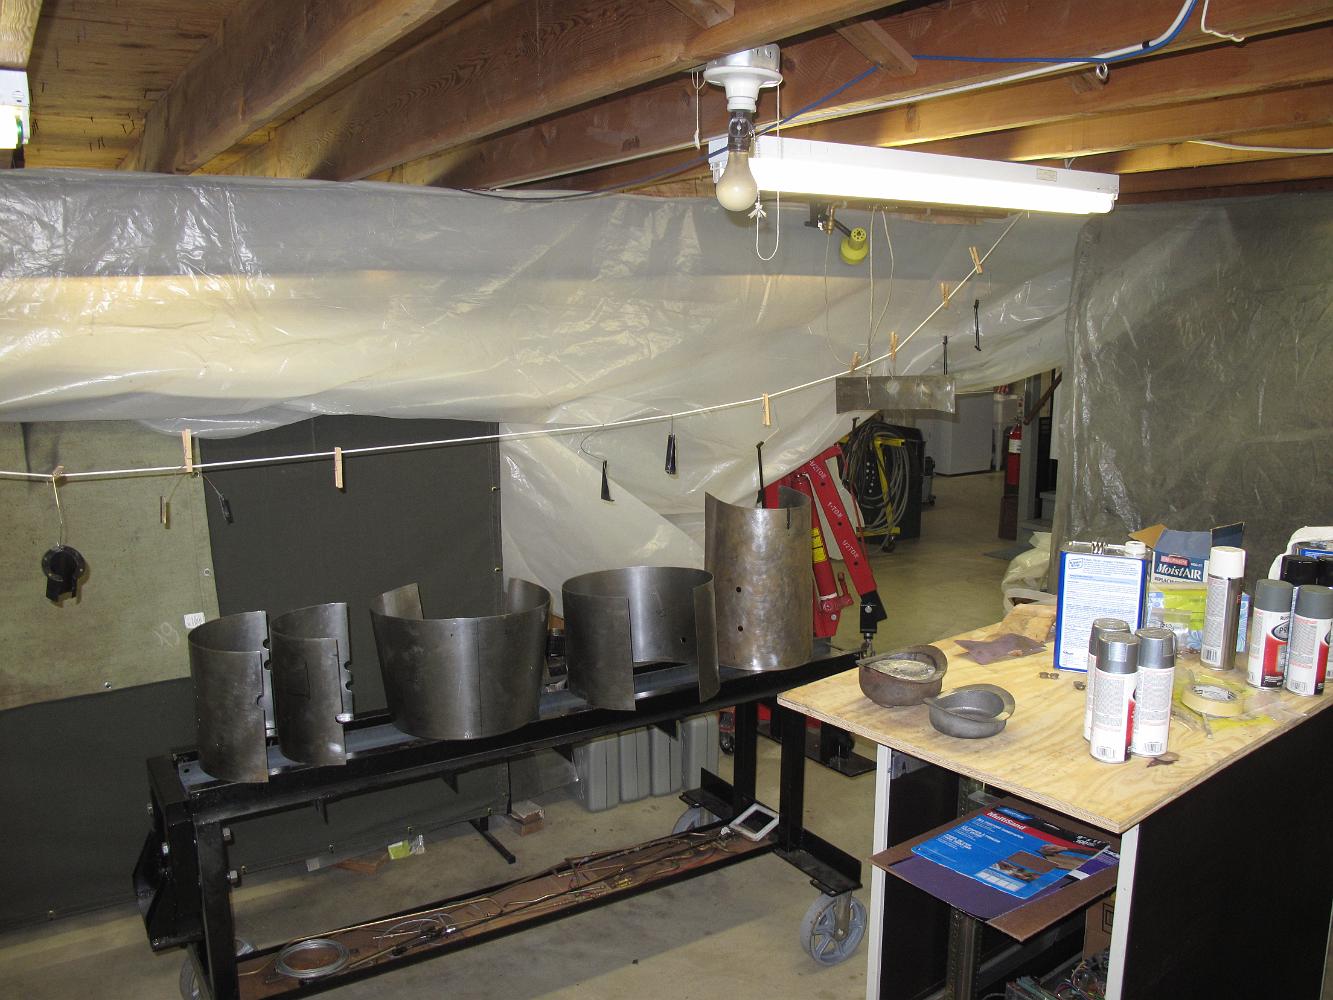
August 2013 The paint station is set up and several hours are spent cleaning, sanding and preparing the parts for paint.
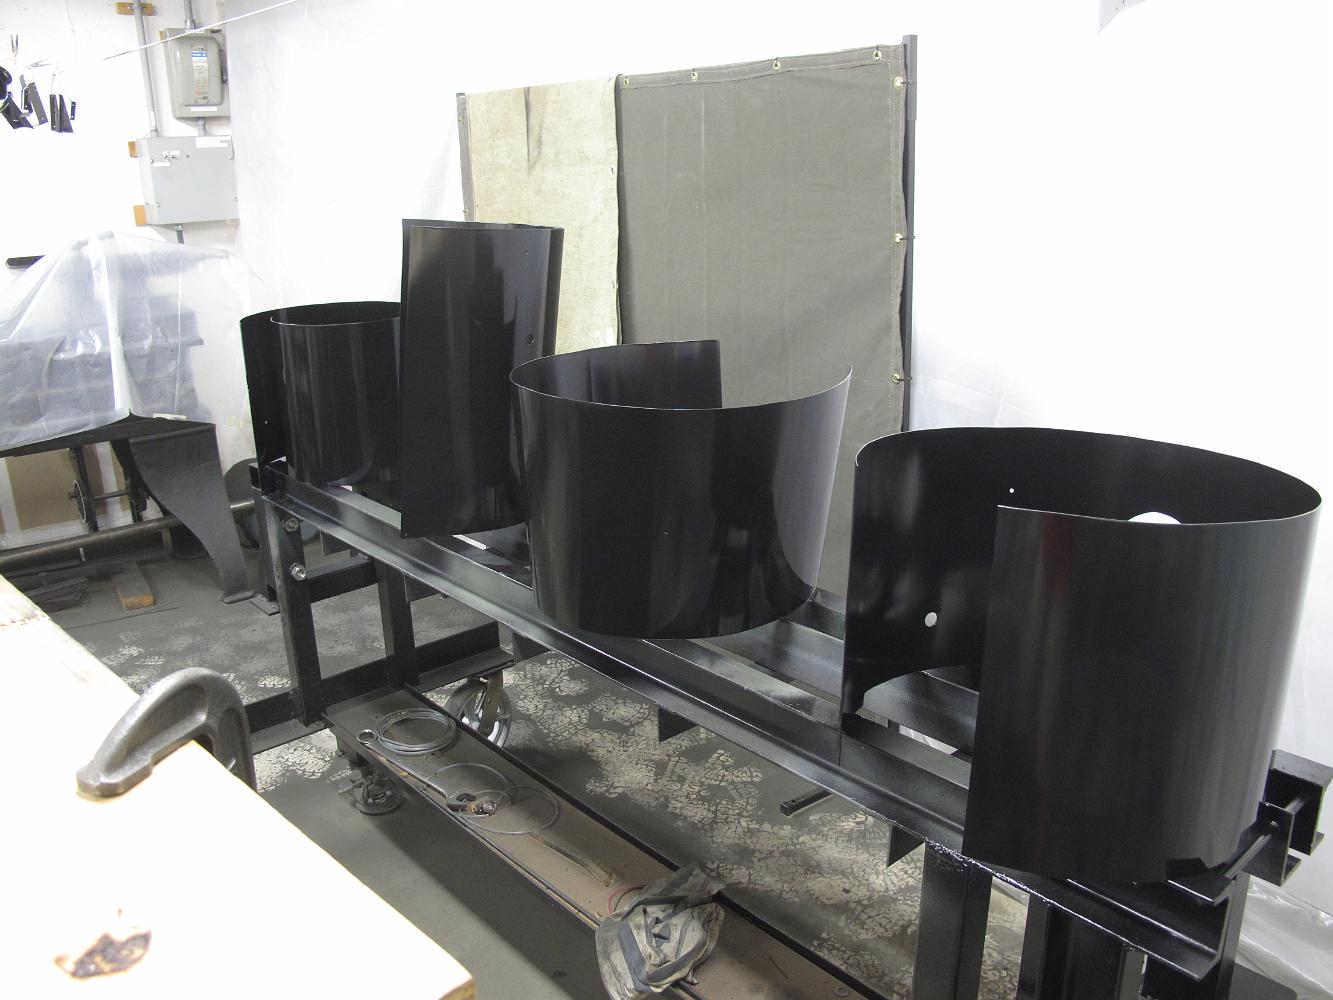
August 2013 After an unusually cool summer, I finally have the boiler jacketing parts ready for paint. My timing is not the best though, normal hot and humid…
18-Sept-2012 A week later after painting the interior green, the exterior gets several coats of Rustoleom gloss black.
18-Sept-2012 A week later after painting the interior green, the exterior gets several coats of Rustoleum gloss black.
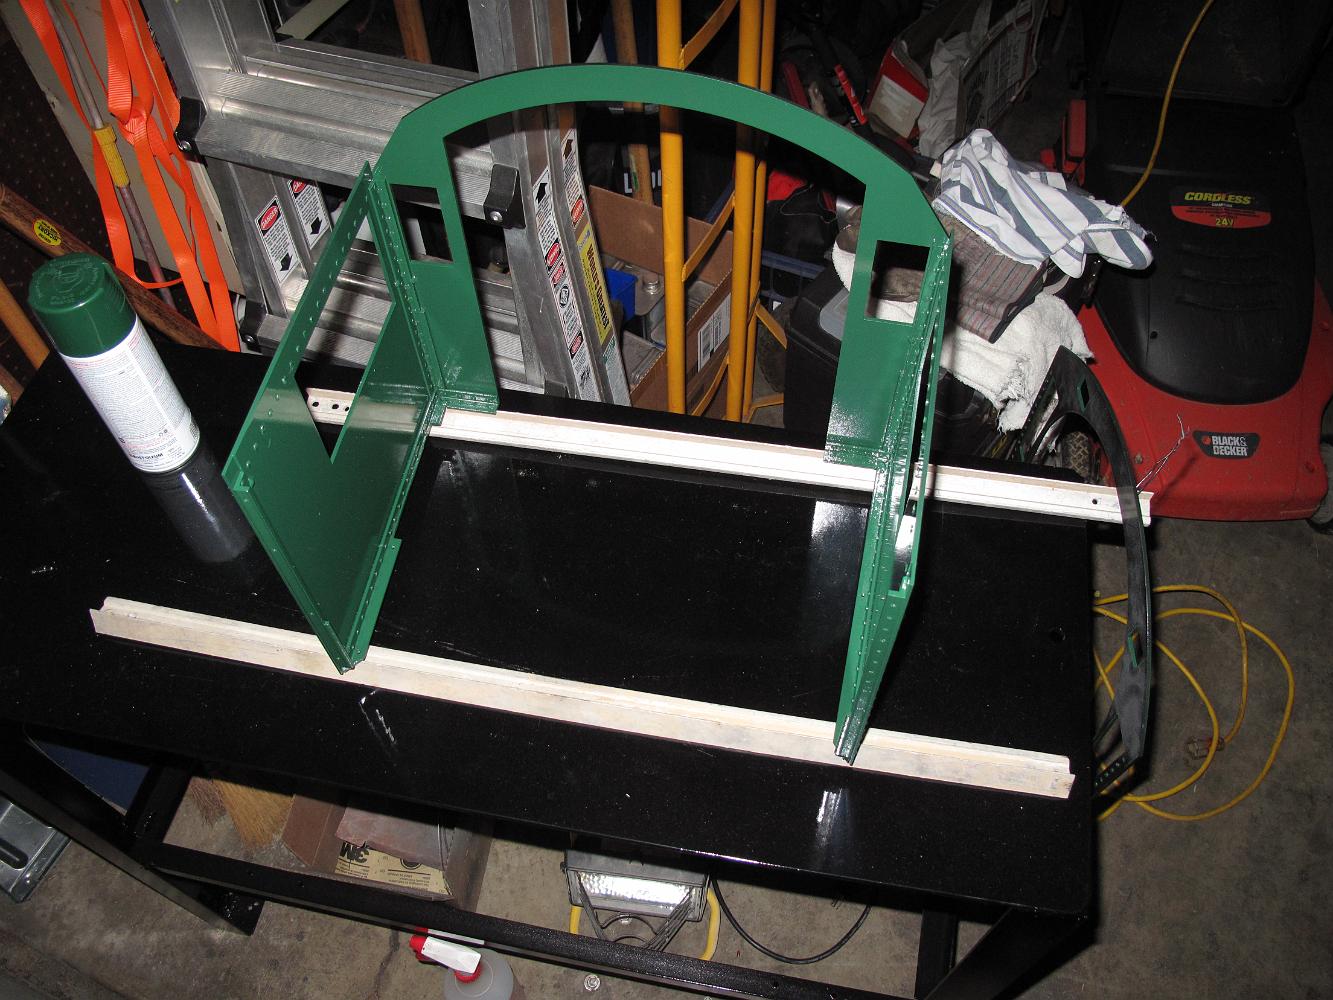
13-Sept-2012 The cab is a two-piece design -- the back and sides are one piece, which bolts to the front, all which are getting a coat of 7788 Hunter Green…
13-Sept-2012 After a success first fire-up, I need to get a cab on the engine! First I paint the interior a typical forest green.
13-Sept-2011 The smokebox with a fresh coat of Rustoleum etching primer #249322 and Rustoleum 500 degree high-temp cast-aluminum color paint #248949.
12-Sept-2011 Not everything goes to plan. I had primered and painted the smokebox with high temperature paint over a year ago. Noticing some flaking at the rim…
21-Aug-2011 Going Green! The boiler in green etching primer. I had spent the previous day going over the boiler with a 40-grit flap disk on the angle grinder…
26-Aug-08 The weather in St. Louis continues to be unseasonably mild for August, so I continue to mix paint and shoot locomotive parts for the big Mikado engine…
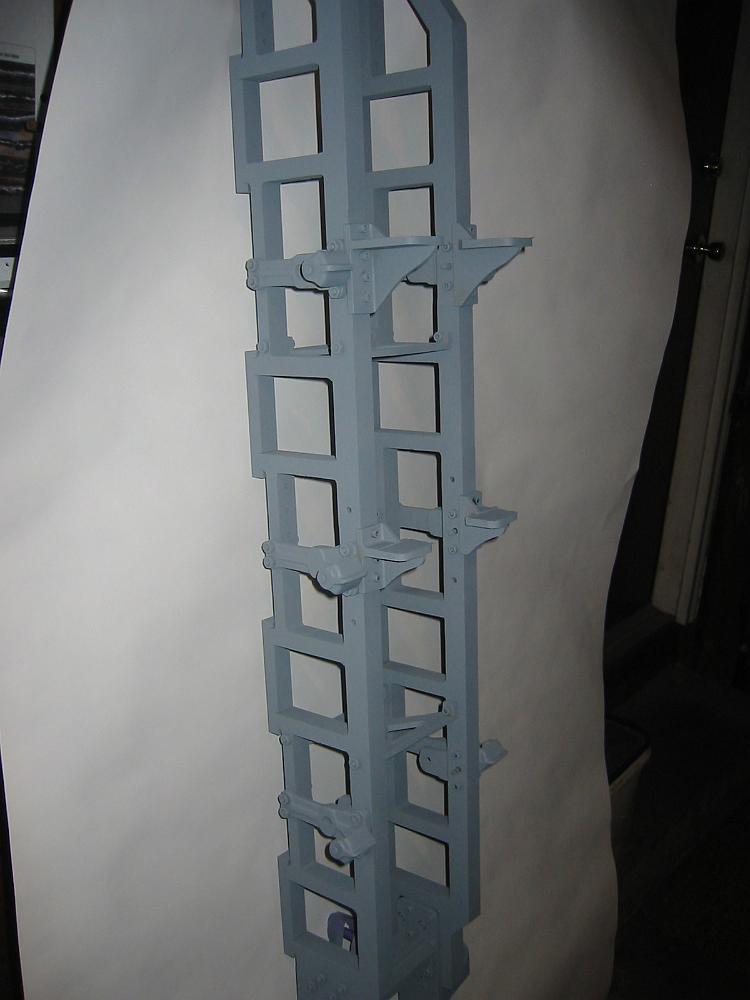
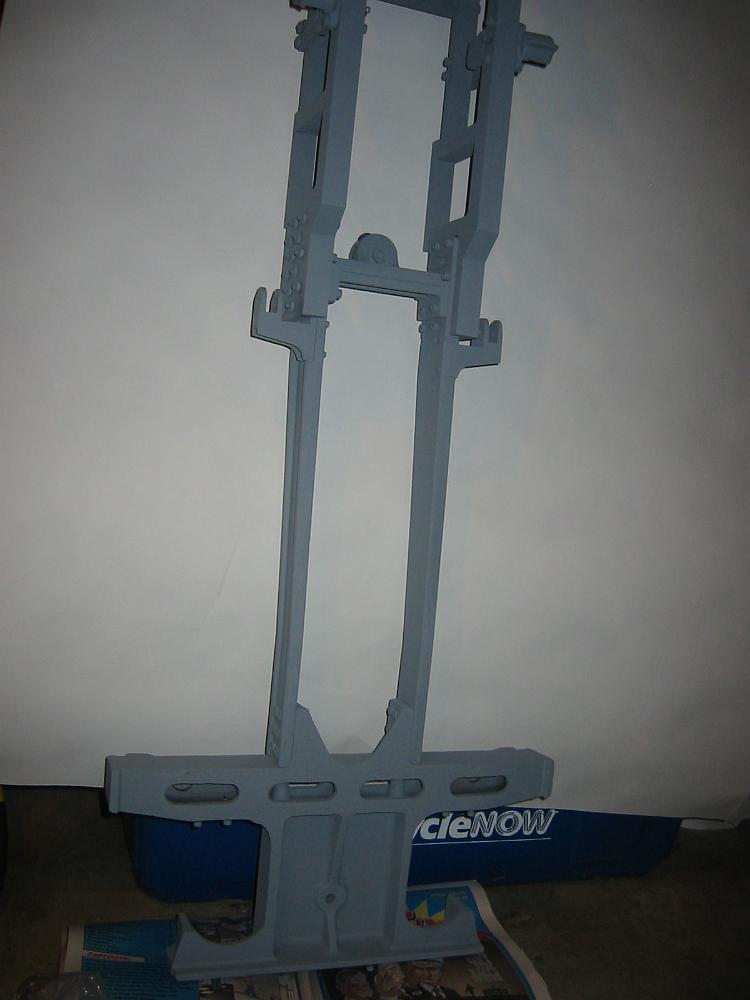
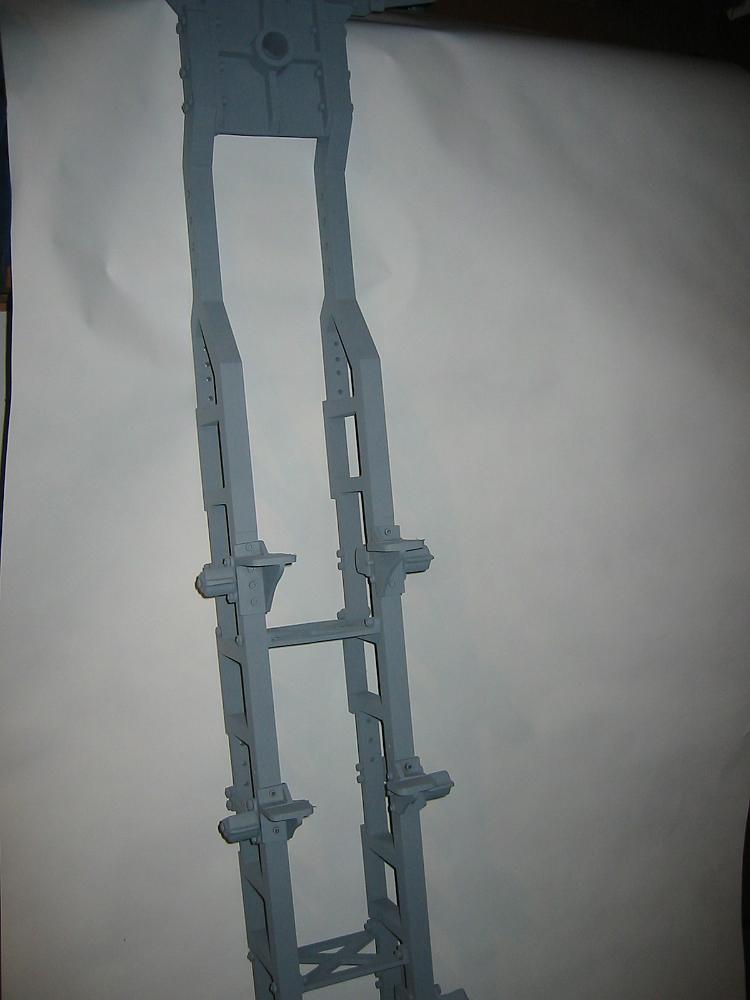
Hmmm. Amazing how the clutter in the background just jumps out in a photograph of the Frame, Cylinders and Trailing truck in black. 26-Aug-08
After spending several hours cleaning and bolting the cylinder covers on, the cylinder casting has been primered. Bill was disappointed that I painted the shiny…
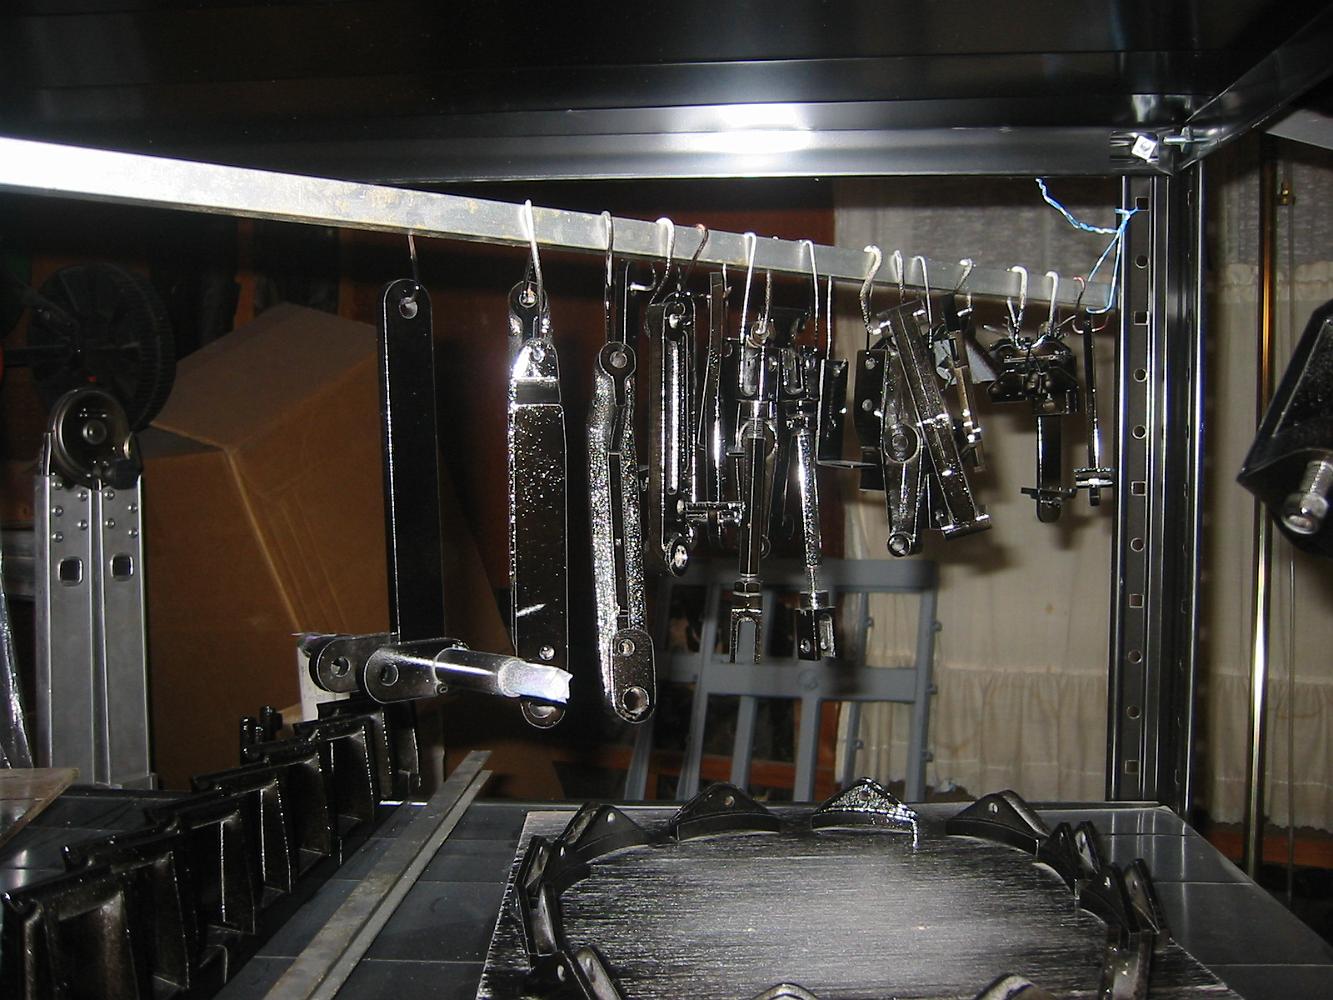
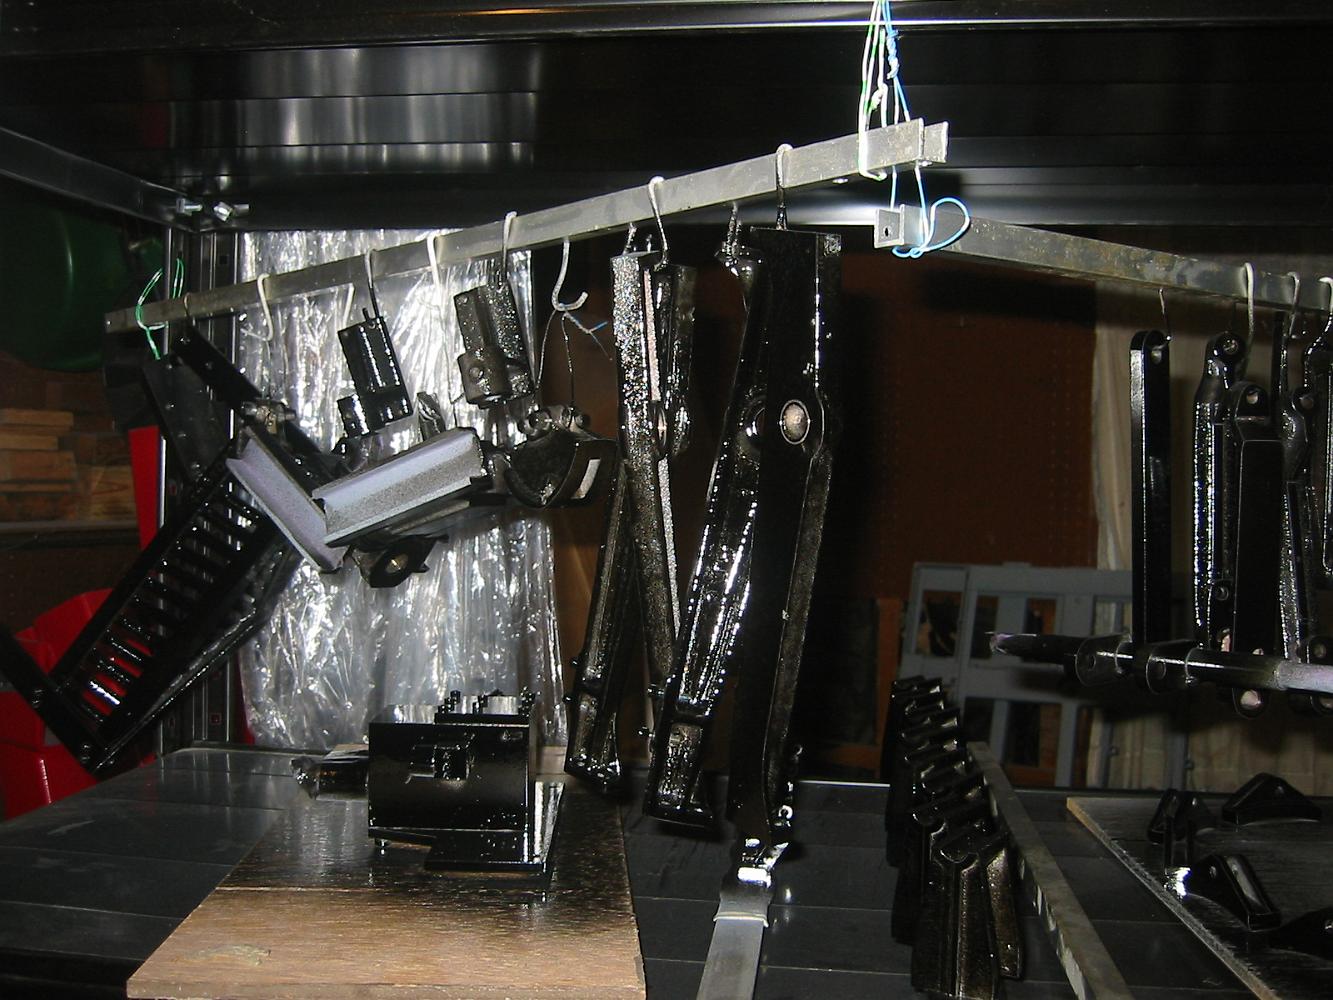
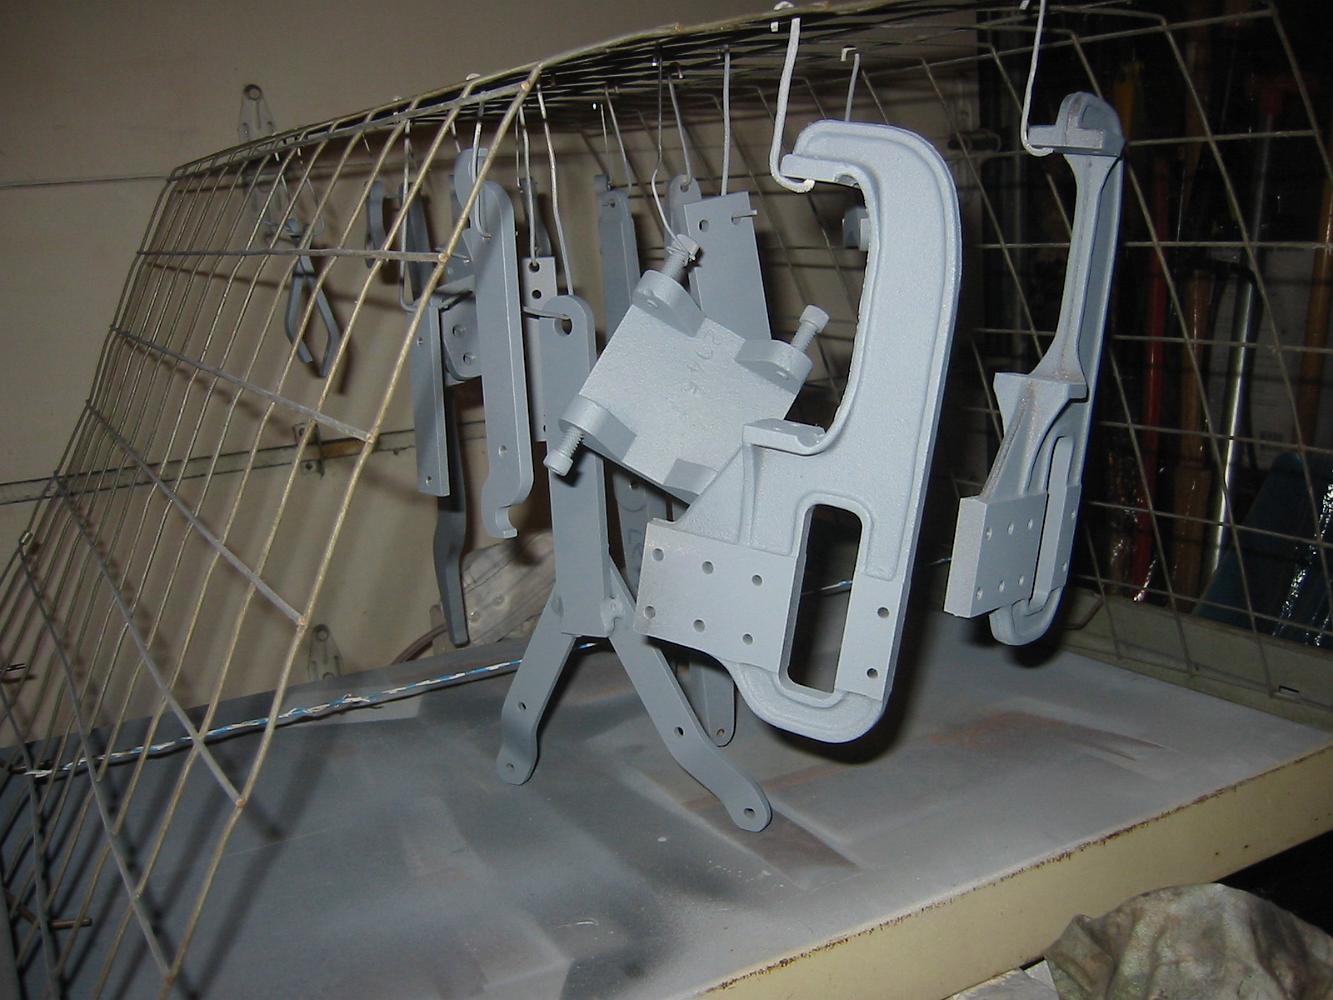
More painted parts hanging on the 'drying rack' I'm happy with the paint job, only a few areas need touching up.
Hmm. Black parts on a black background. So maybe I'm a better machinist than photographer. But the fact that the parts are Black bears witness to the work!
Sunday 17-Aug-08. I take the plunge and fire up the HPLV gun, mix the single stage Sherwin-Williams Acrylic Enamel automotive paint and start painting!
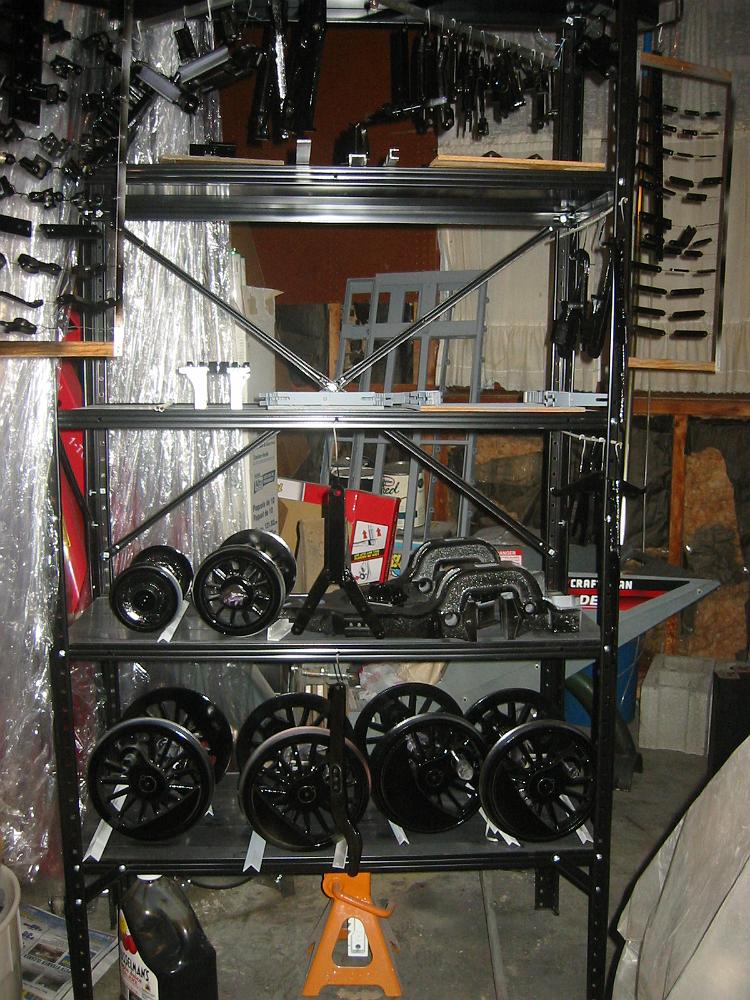
Check out the shelving full of primered parts! This represents three spray cans of etching primer and a full days work.
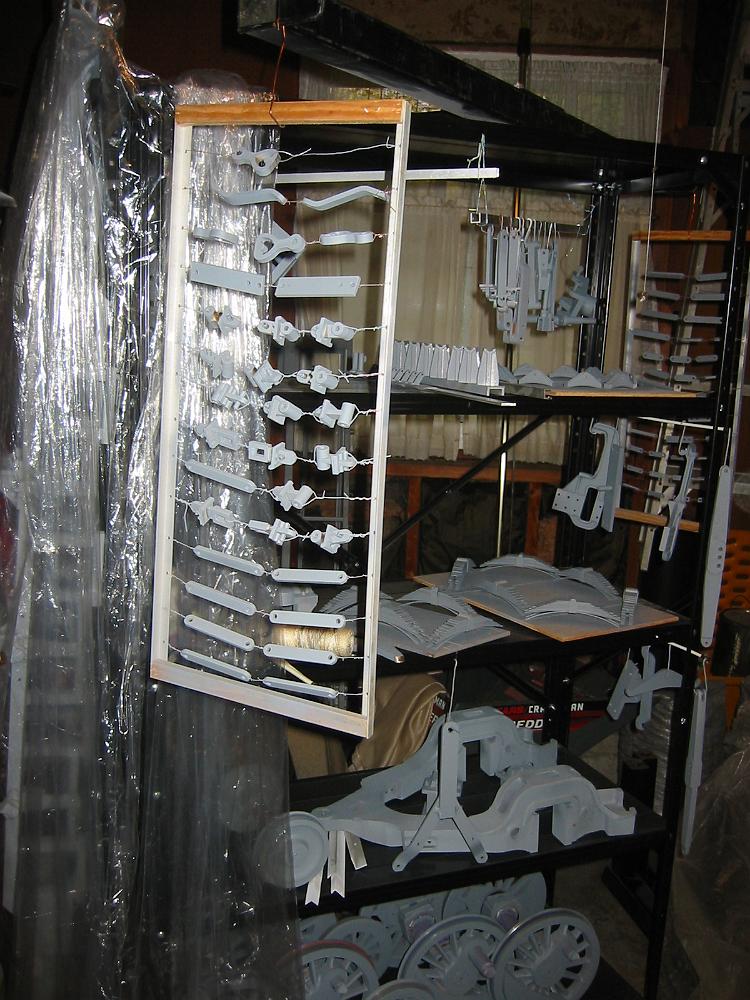
Saturday, 16-Aug-08 Parts is Parts. I spent the day Prepping and Priming all the little parts. I realized that it would take a very long time to hook and paint…
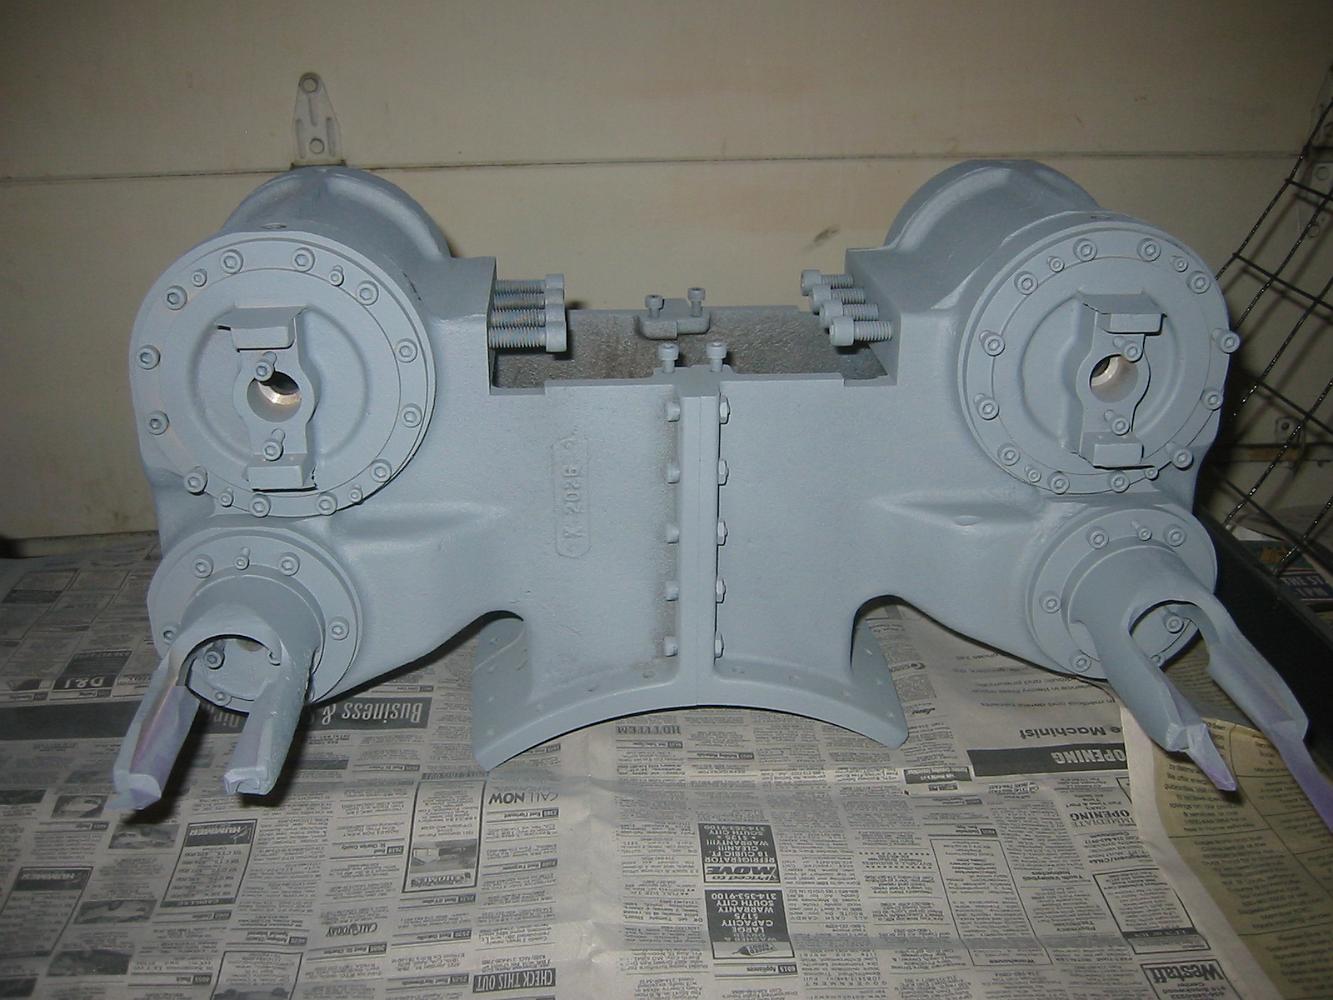
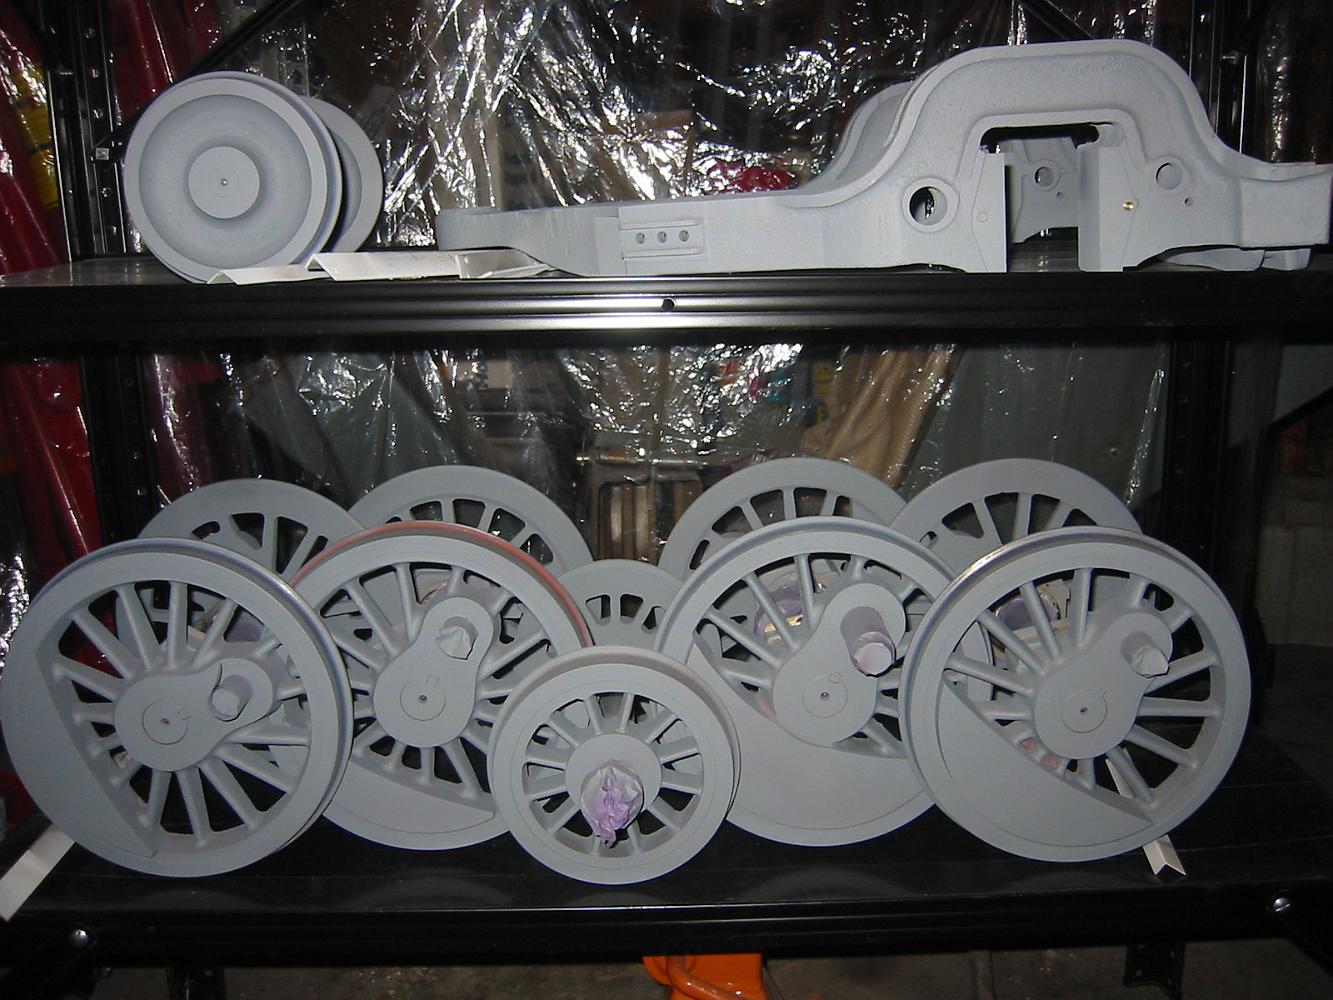
Oh I am excited just to look at this picture of the wheels and trailing truck in primer gray! We have had unusually cool temperatures and low humidity for St.…