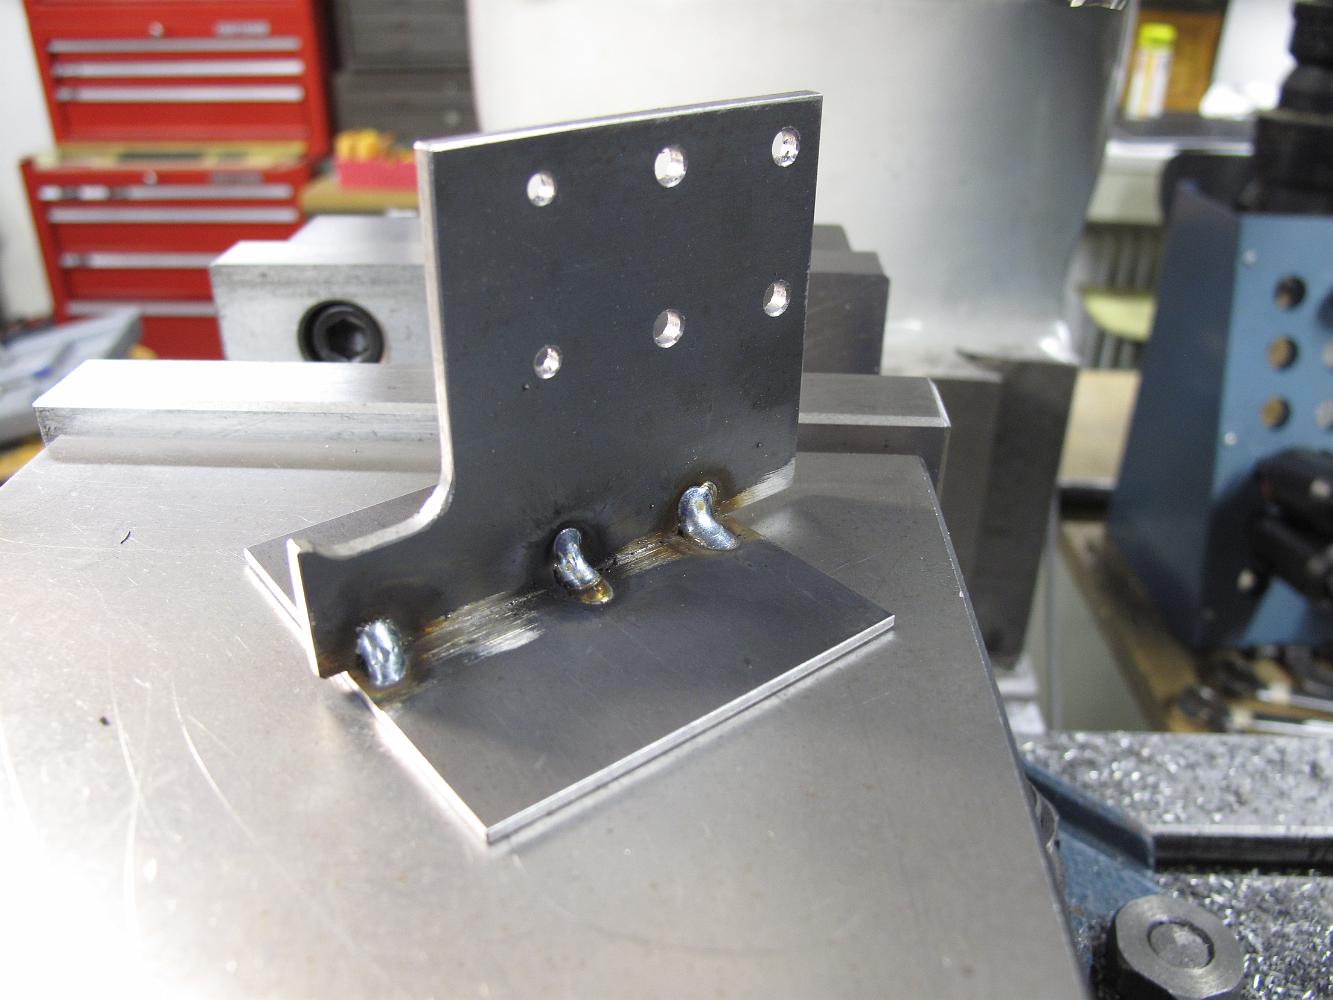
15-Nov-2011 A bracket made from 1/8" hot rolled steel to bolt onto the crosshead guide support bracket.
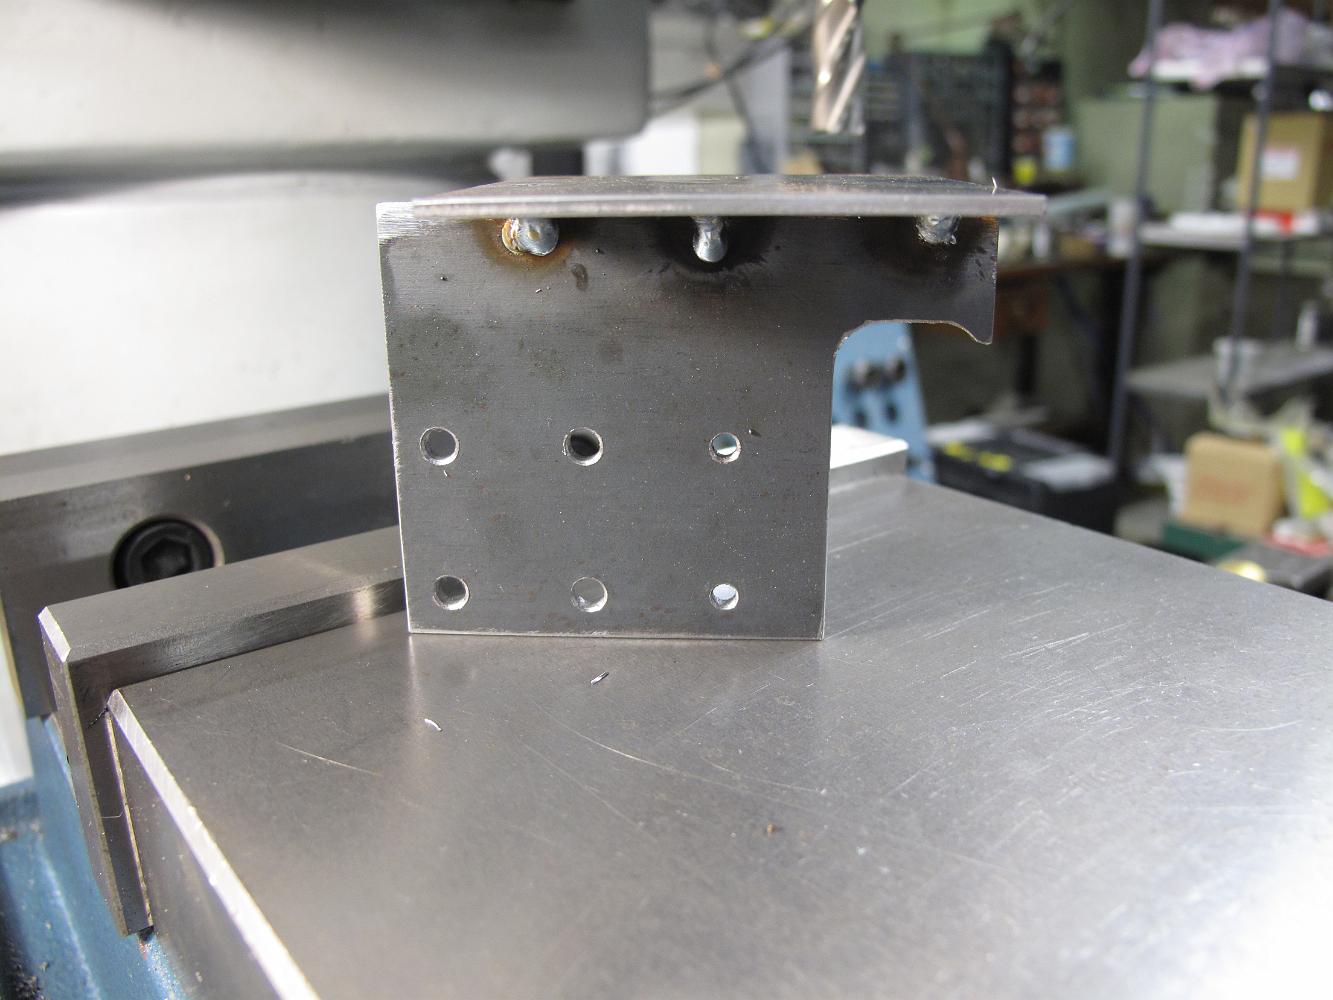
15-Nov-2011 Bracket for the American Models lubricator to mount on. Bill machined up the plates, I welded them together.
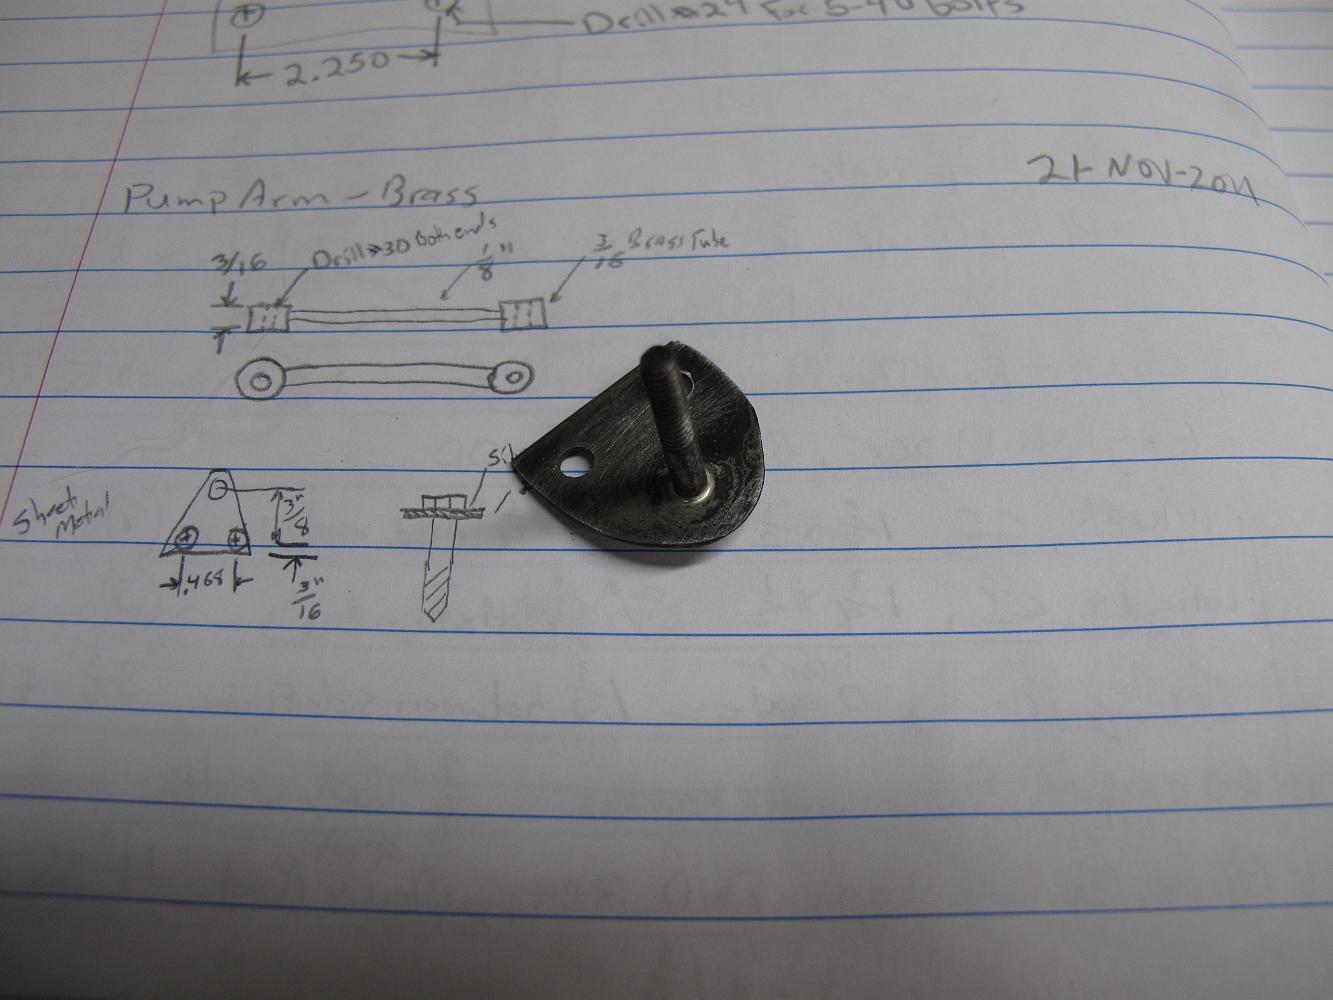
21-Nov-11 Bracket with silver soldered stud to mount of the trunnion block.
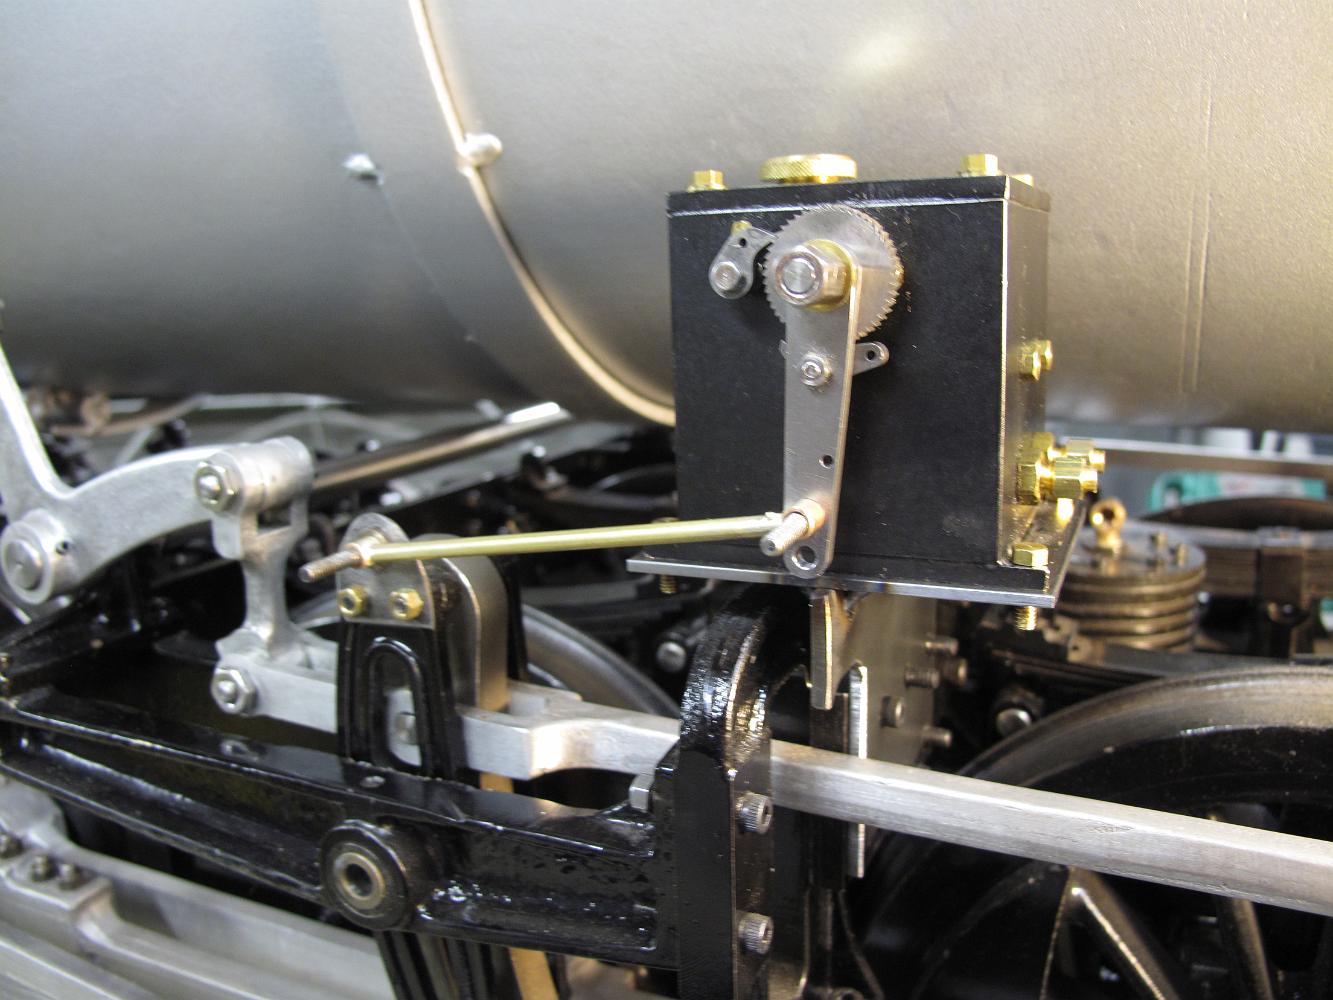
21-Nov-2011 Trial fitting of pump, connecting rod, trunnion stud. It all looks good until we roll the engine around and discover the rod is too short, causing…
29-Nov-2011 Holding the new connecting rod to mill small radius' in the end for silver soldering.
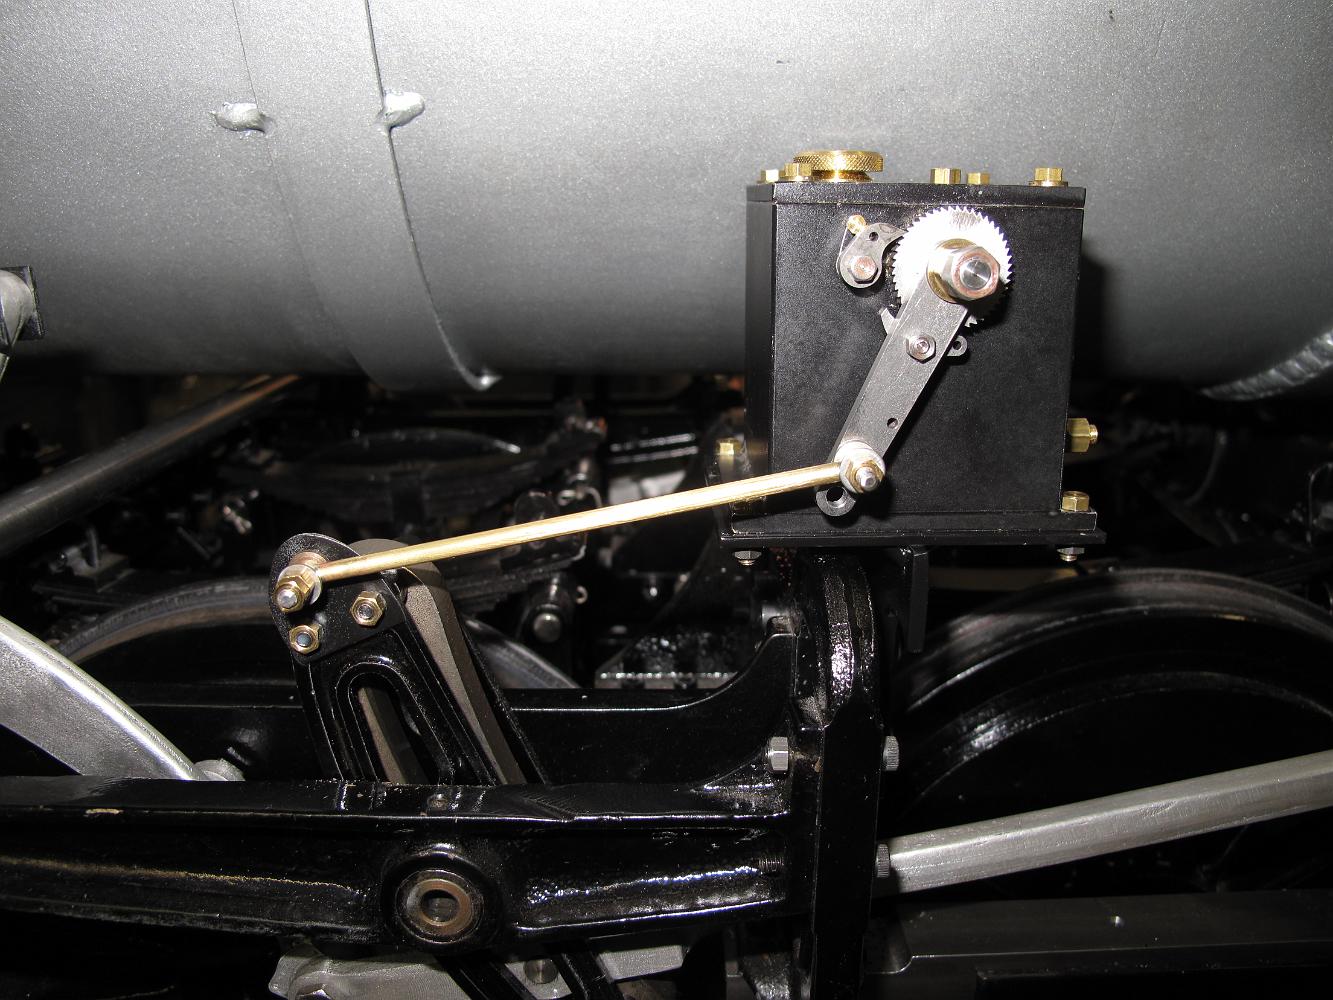
29-Nov-2011 The painted bracket installed on the frame with new connecting rod at full backstroke.
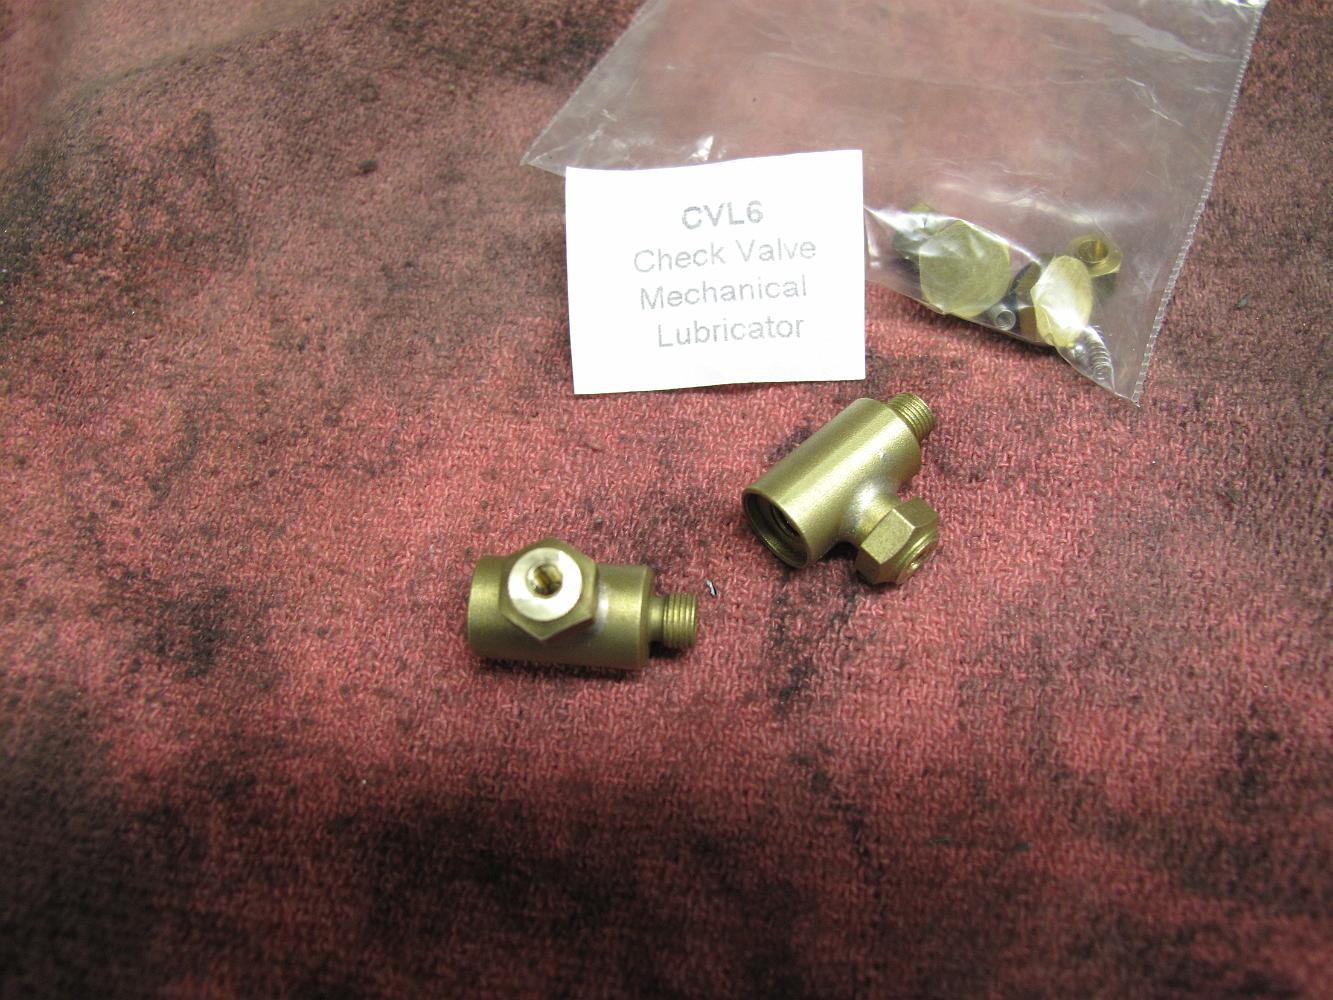
29-Nov-2011 Modifying two American Model oil check valves for 1/8" hard brass pipe. The checks were designed to screw into the side of a slide valve steam…
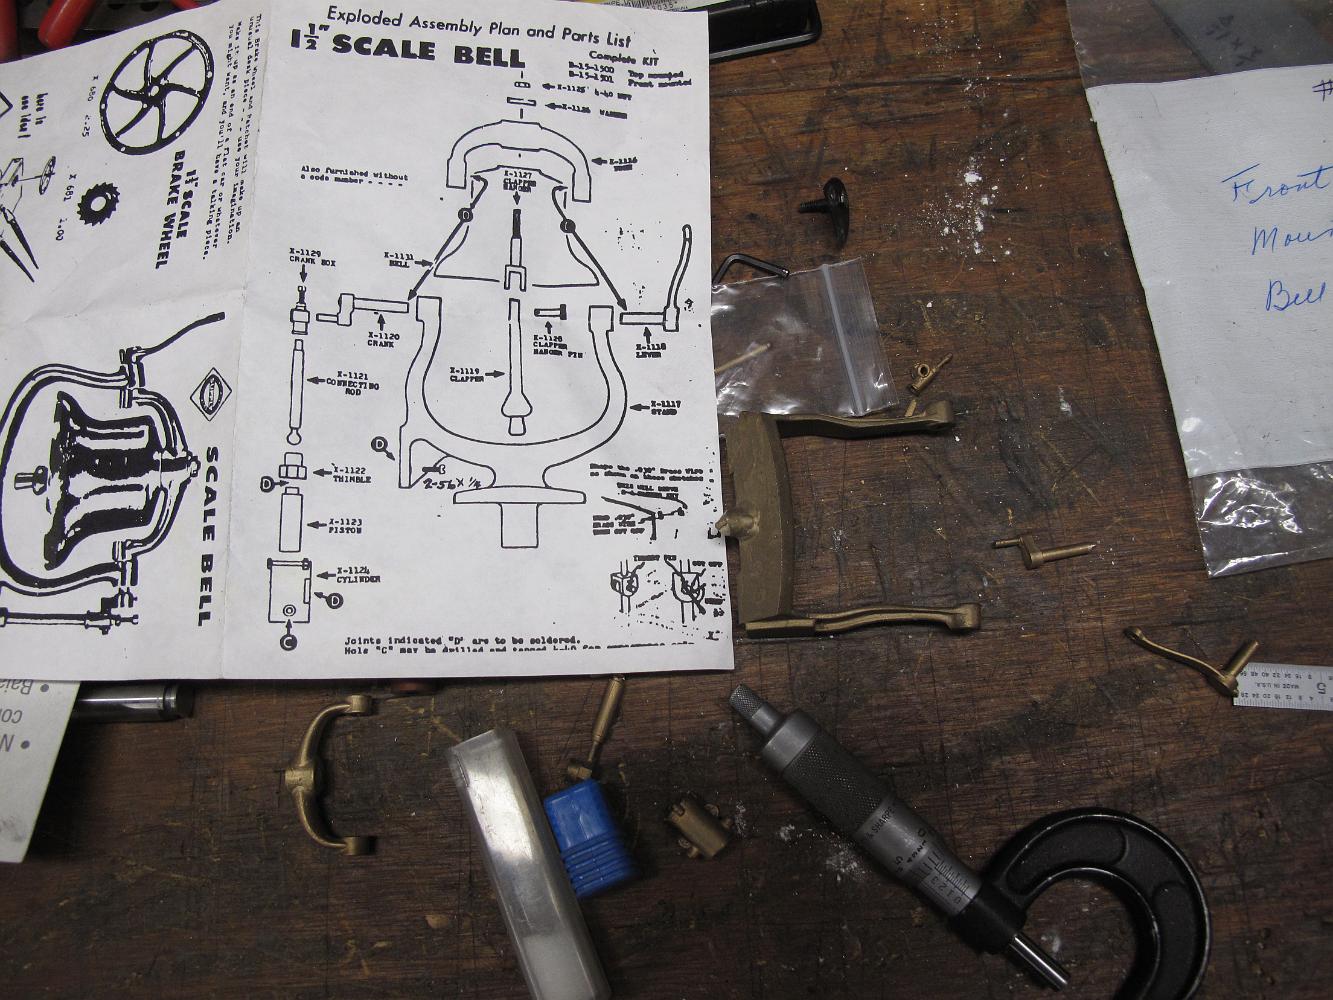
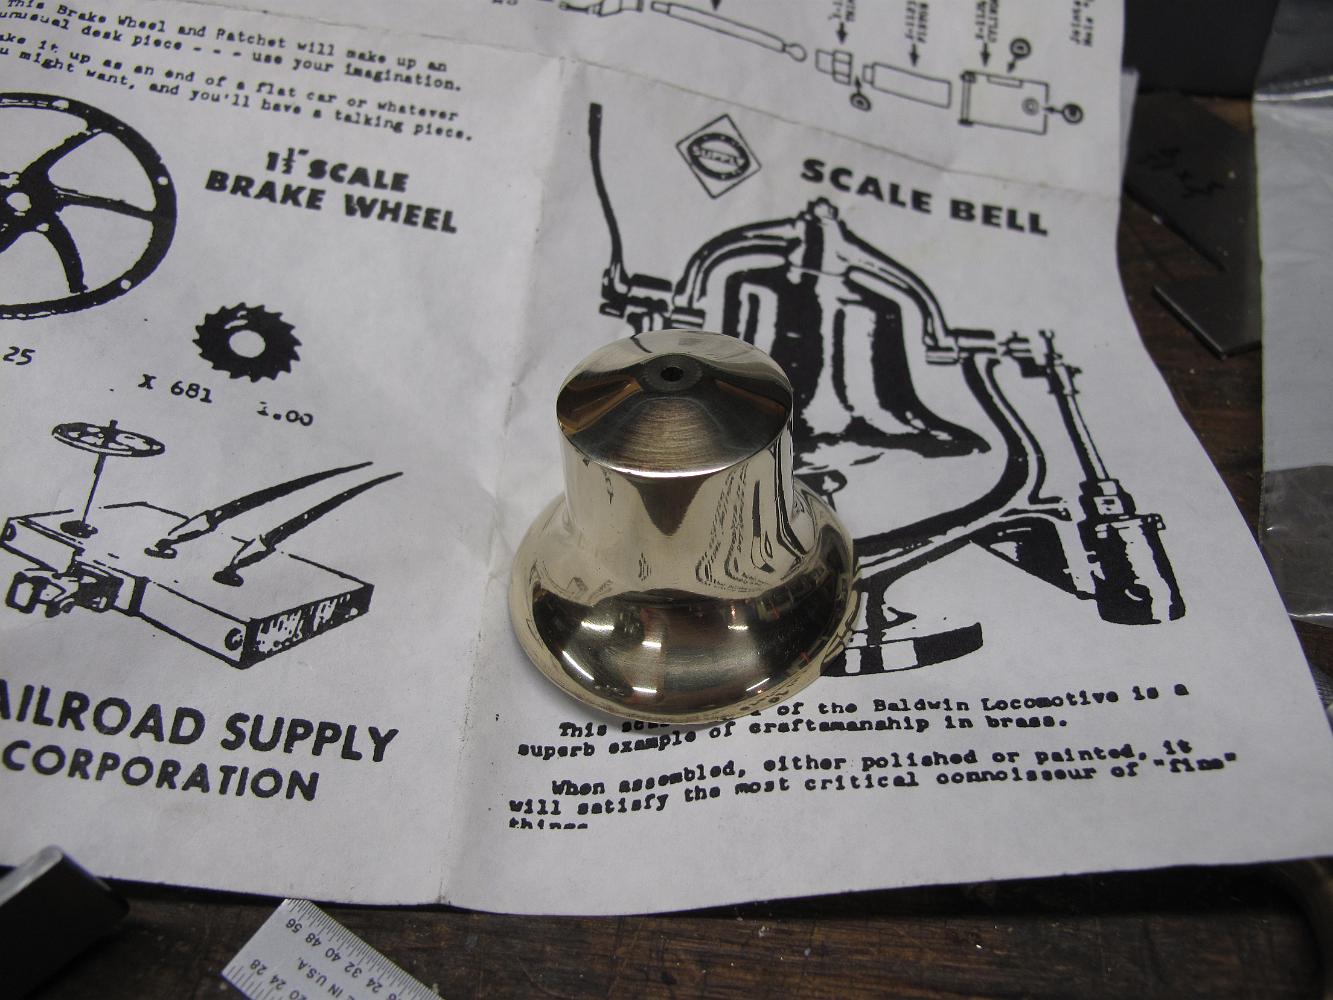
8-Oct-2012 While the locomotive is still upstairs for its next run, we are a bit a loose ends on what to work on. We grab the bell kit and see what we can do.

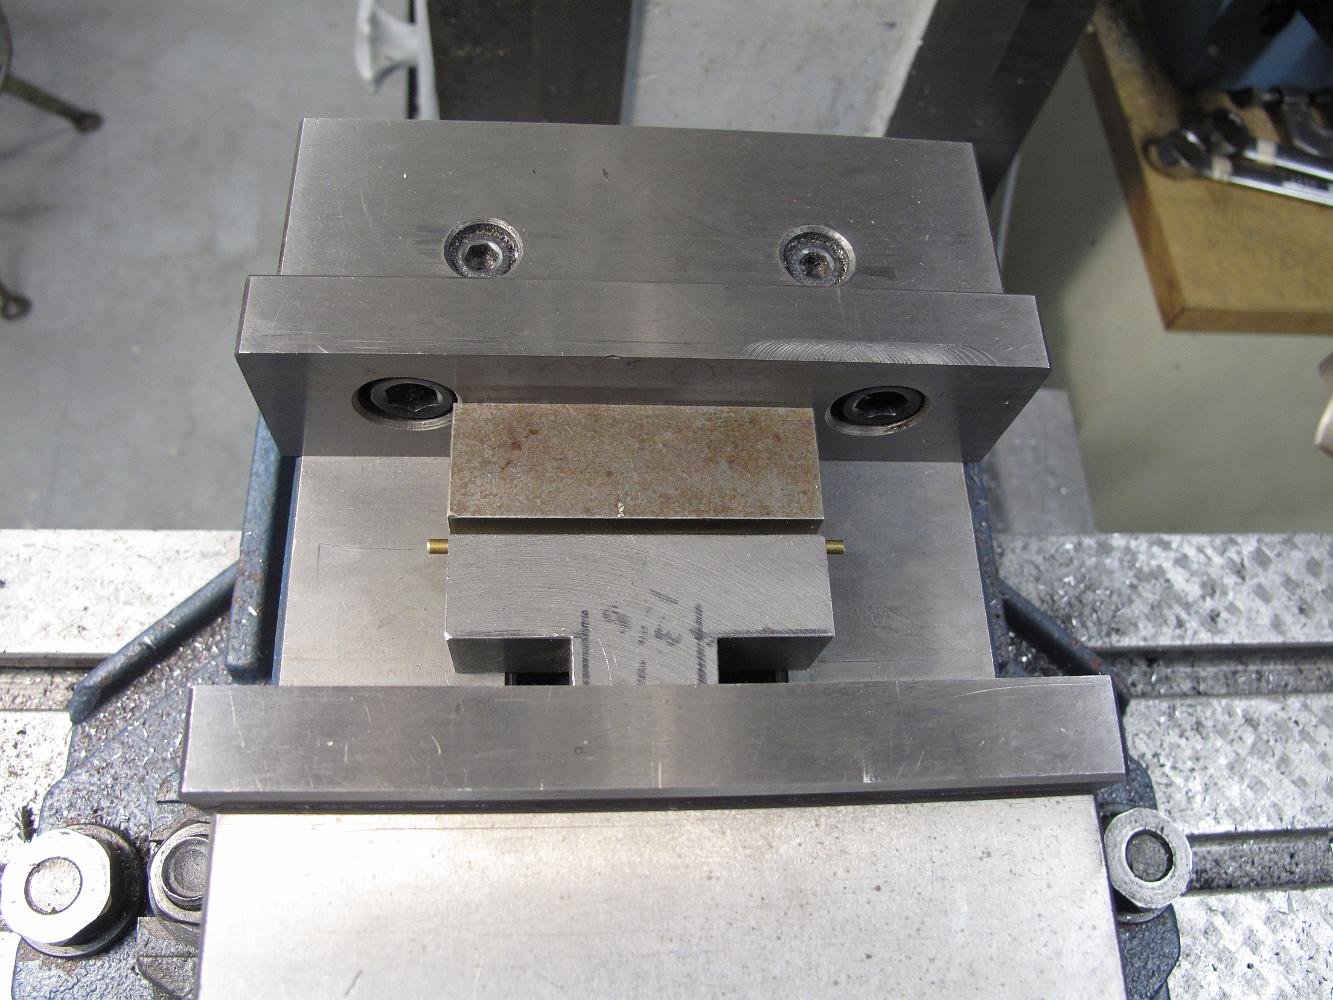
8-Oct-2012 Figuring out how to hold these castings is almost harder than the machine work. We start by setting up an angle plate square to the head and machine…
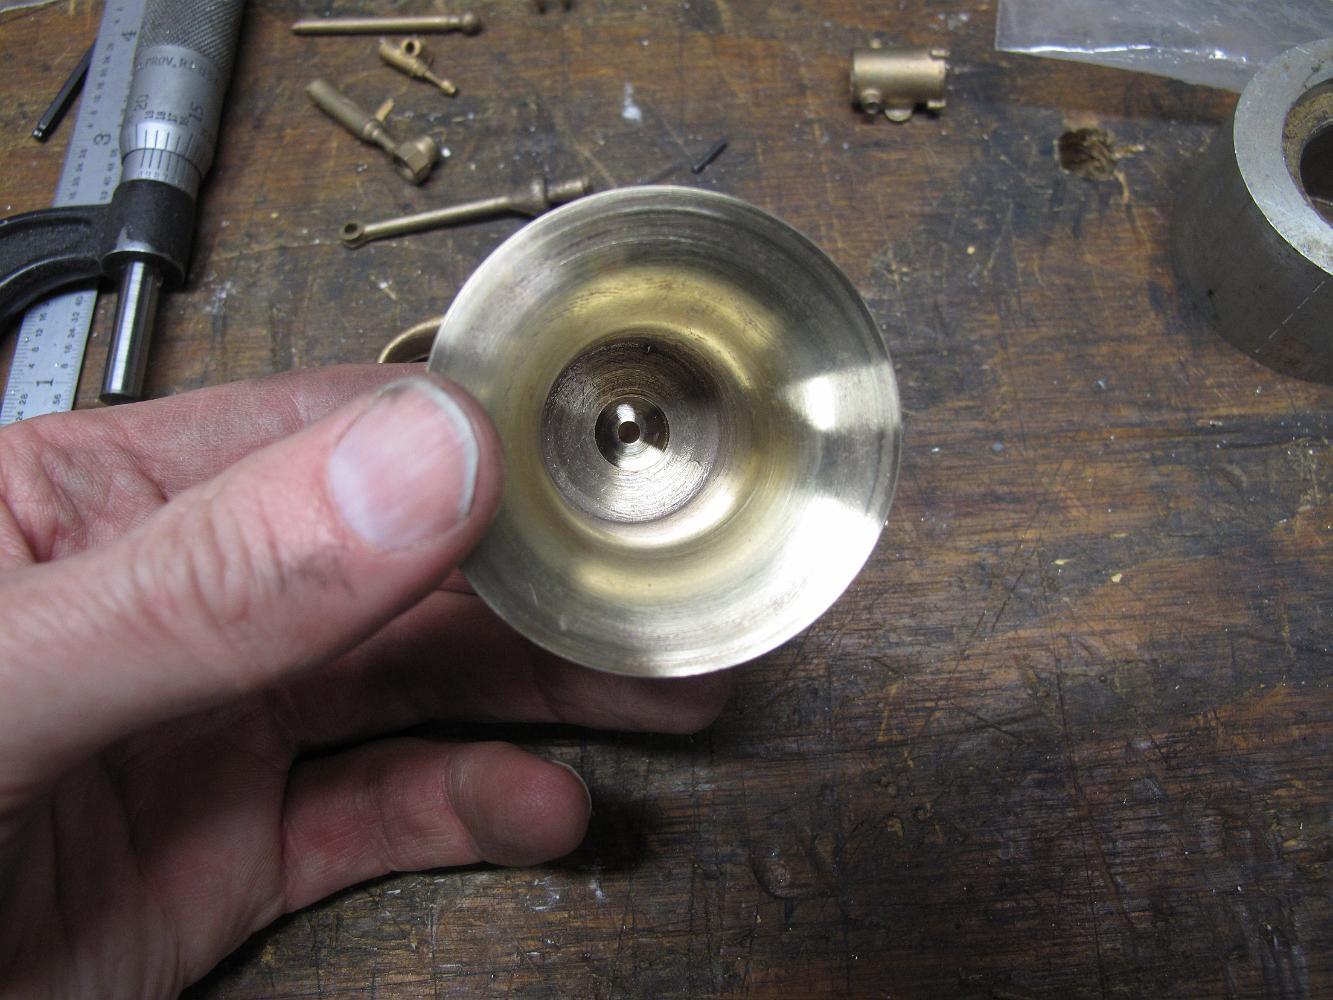
8-Oct-2012 We chucked the bell up in the lathe, sanded the interior, drilled a recess for the clapper mount.

8-Oct-2012 Exterior of the bell which was only sanded. We did machine the top (by fingers) a bit.
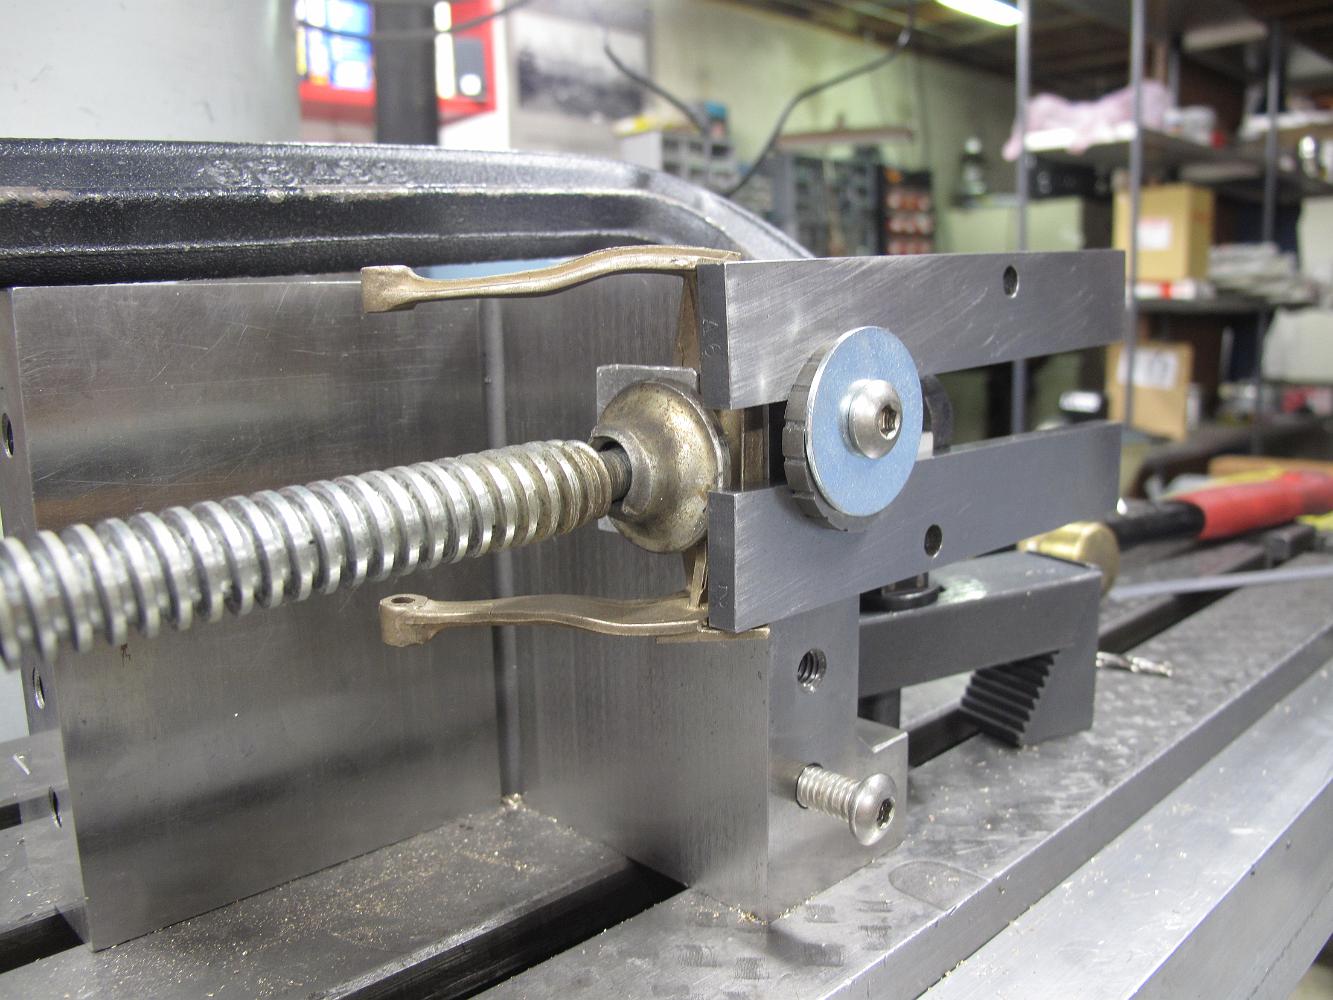
8-Oct-2012 With the back and the bottom surfaces machined, we create an inside angle mount to hold the bracket square for drilling the pivot points.
13-Oct-2012 While Bill was working on the mounting bracket, I tried my hand at the buffing wheel. I think this is as good as I can do.
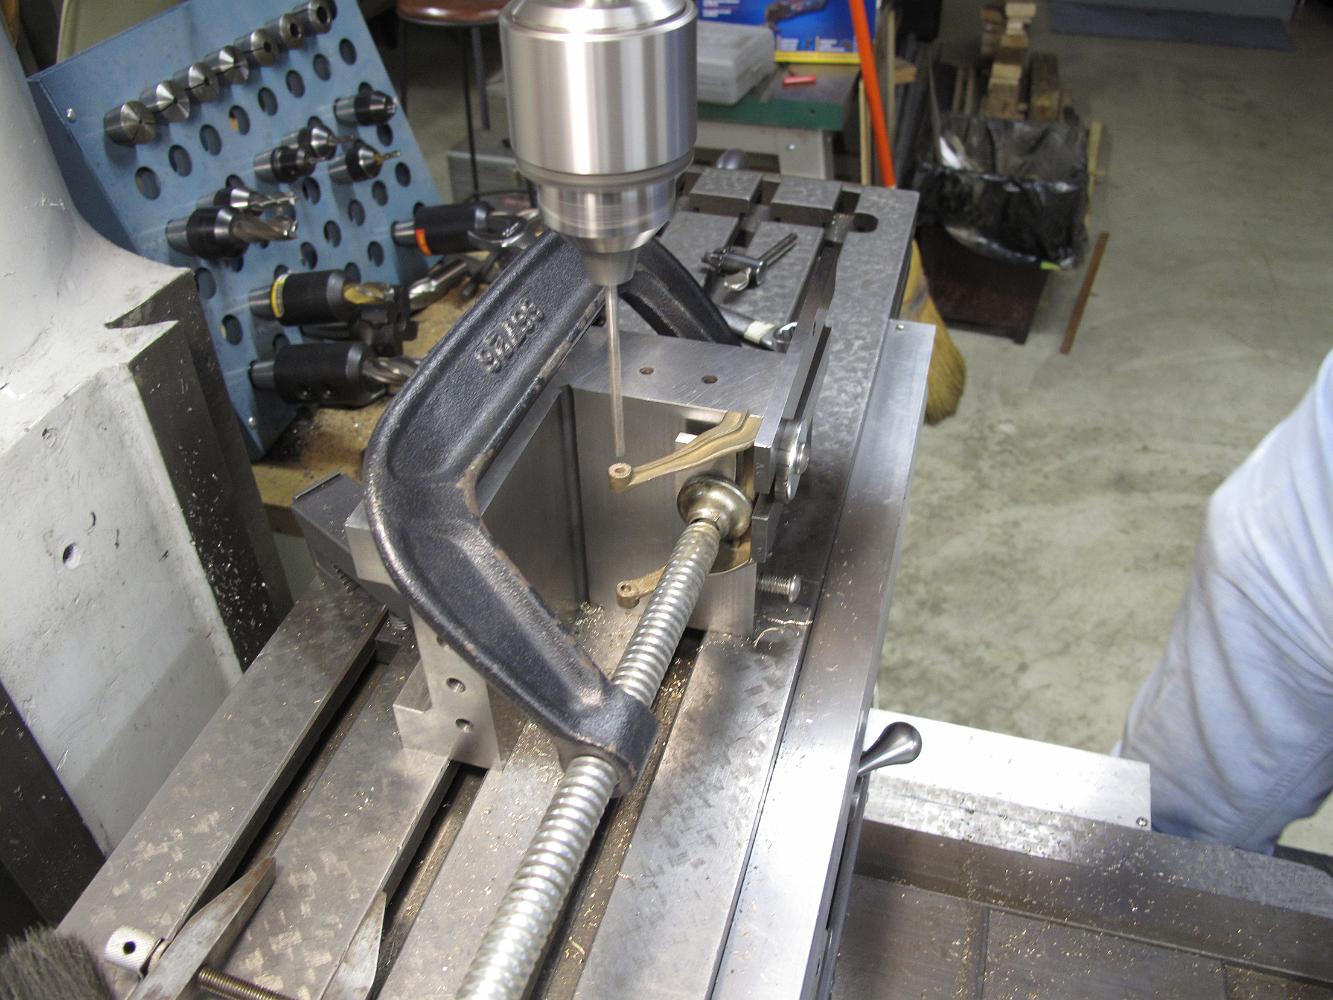
18-Oct-2012 Drilling and reaming the pivot points. We could not find a good way to support the bracket arms without influencing them, so we start with a small…

19-June-2018 Fabrication of the turret cover begins.
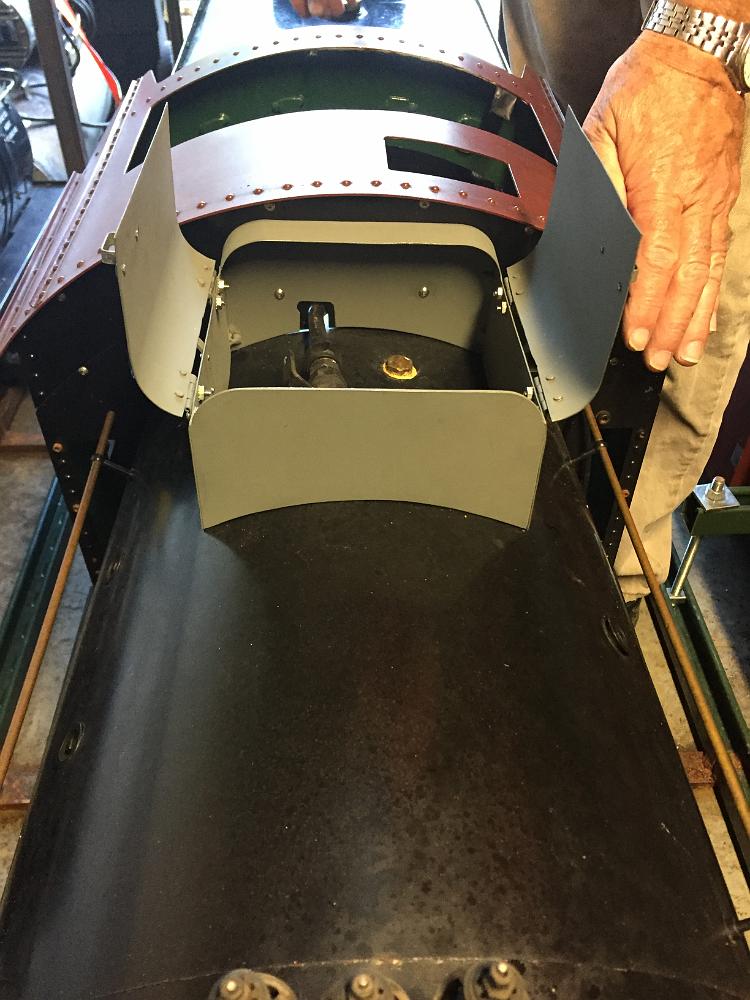
23-July-2018 The turret cover assembled and in primer.
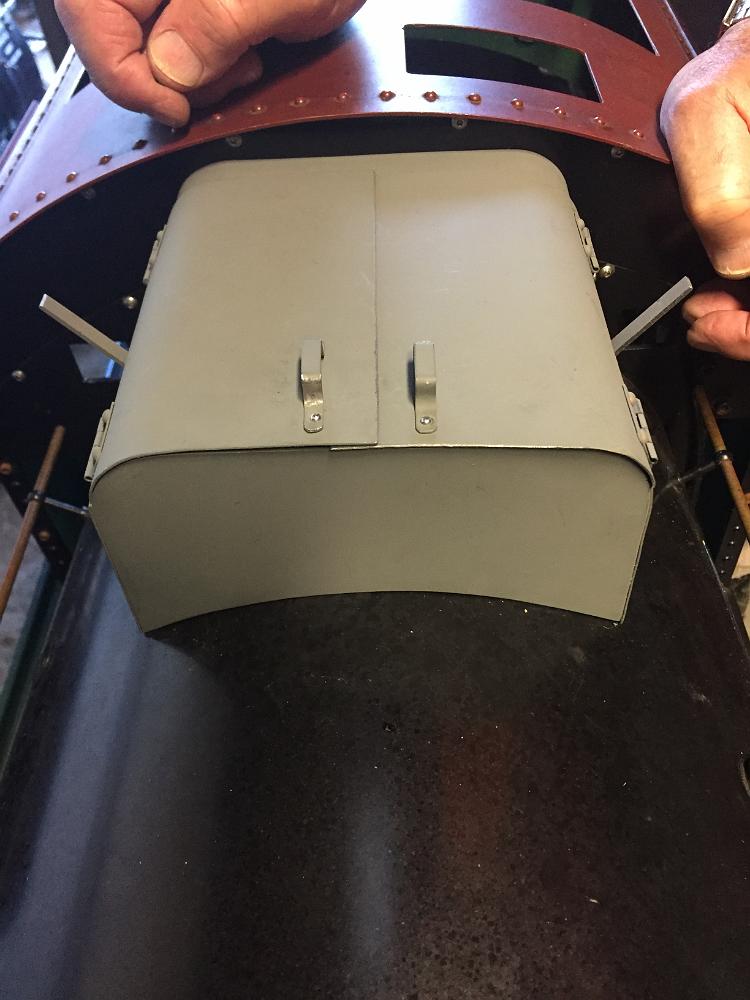
23-July-2018 The turret cover assembled and in primer. The details of the handles and brackets which the covers rest against when open can be seen.

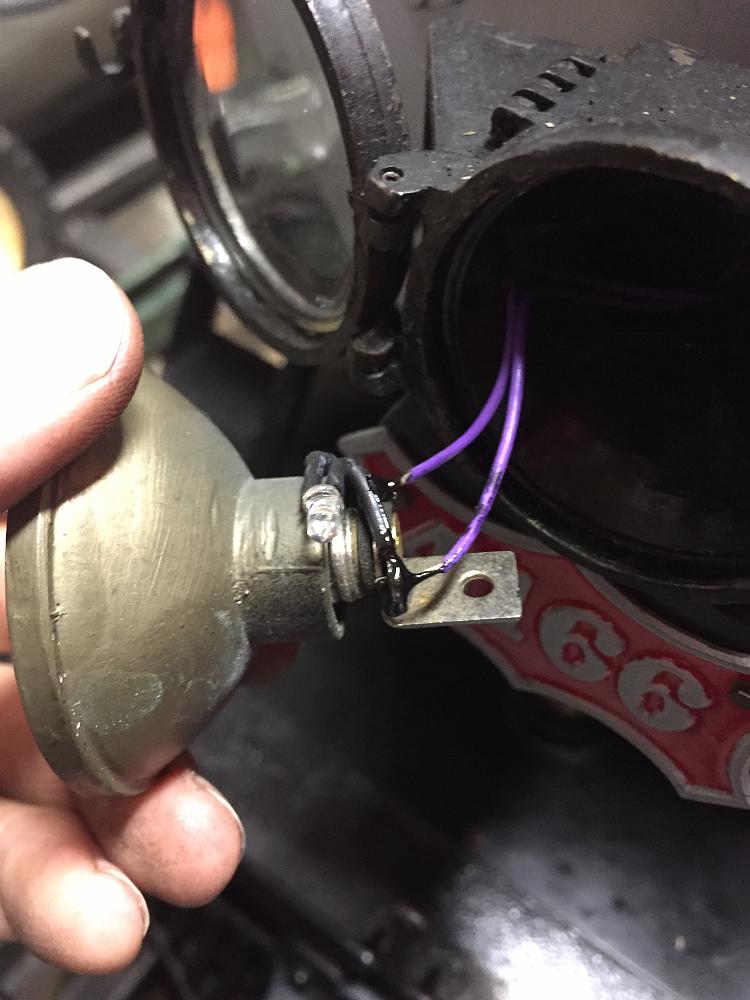
2018-12-03 - Working dynamo with new base is fitted to the jacketing.
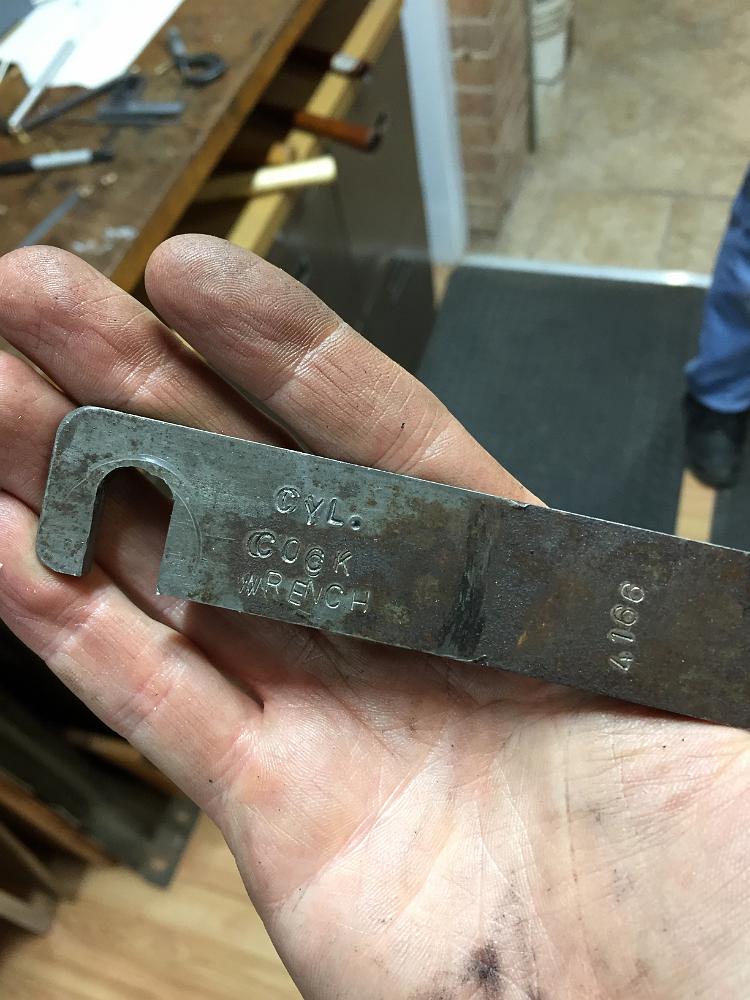
2019-01-07 - special wrench is made to install / remove the steam actuated cylinder cocks. The standard wrenches were damaging the flats on the brass cocks.
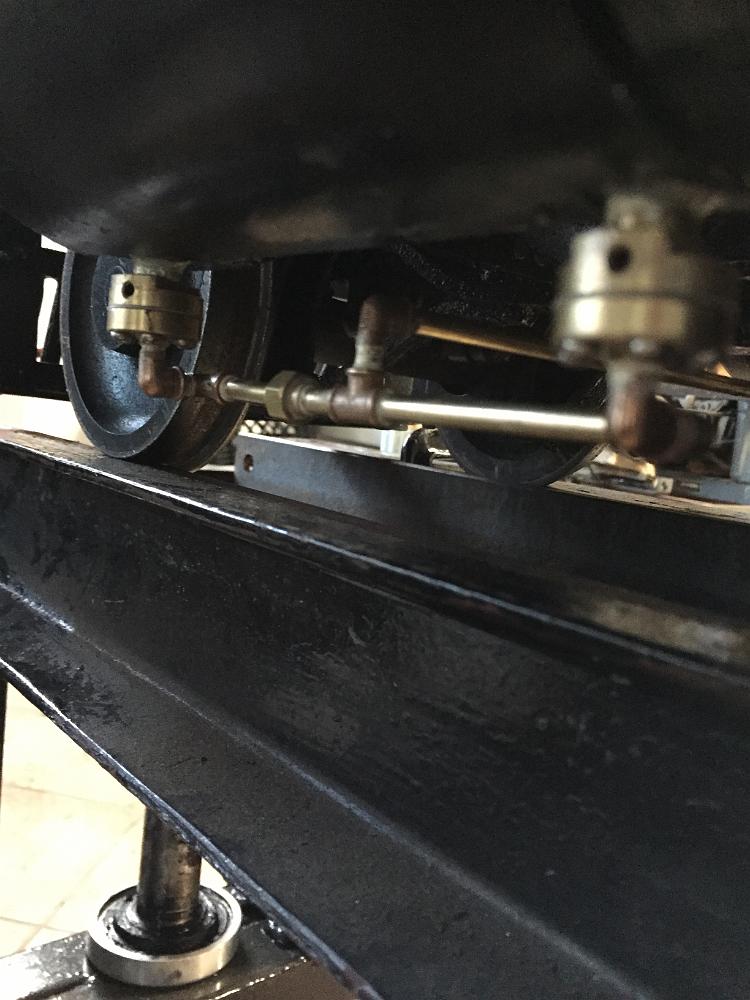
8-Feb-2019 New diaphragm steam actuated cylinder cocks installed on the cylinders. This installation is proving to be a slow and challenging process. It might…
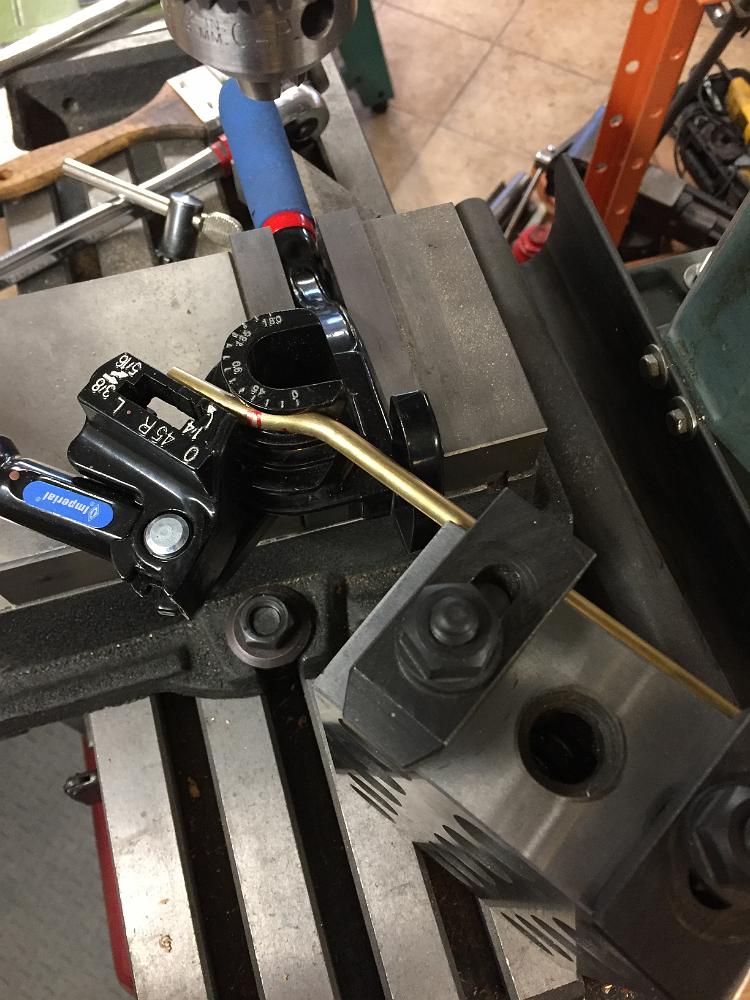
9-Feb-2019 What are we looking at here? We need to thread the end of the new steam line for the cylinder cocks. I've already bent the pipe up to fit on the…
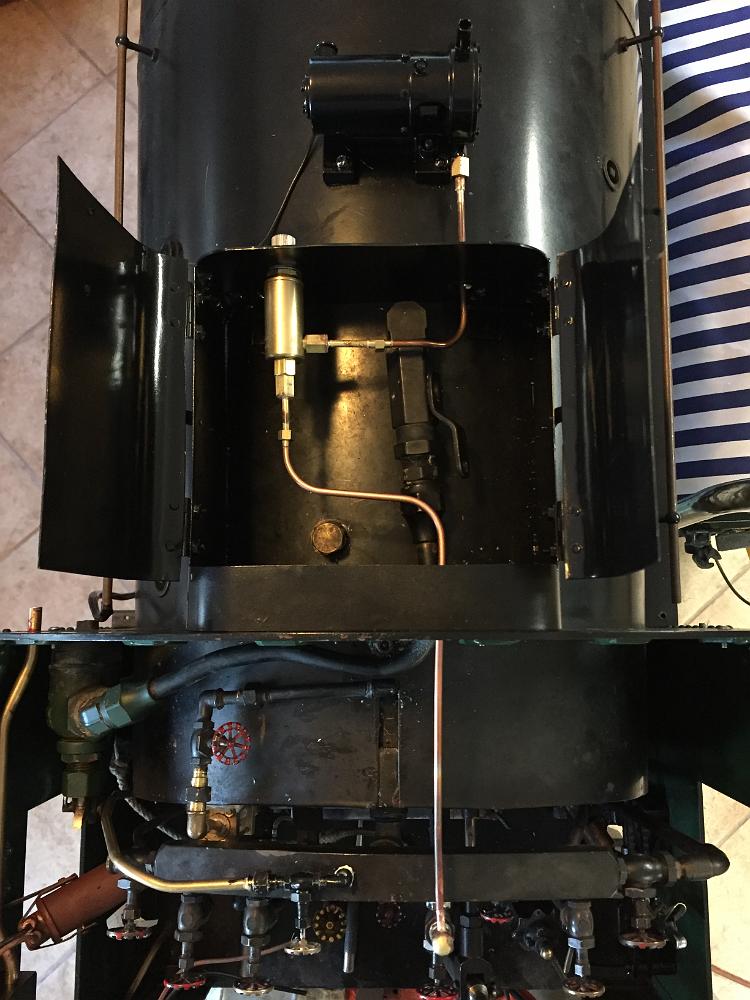
2019-02-11 - Routing the new cylinder cocks steam line from the turret, down the side of the cab and out to the new line towards the front of the engine.
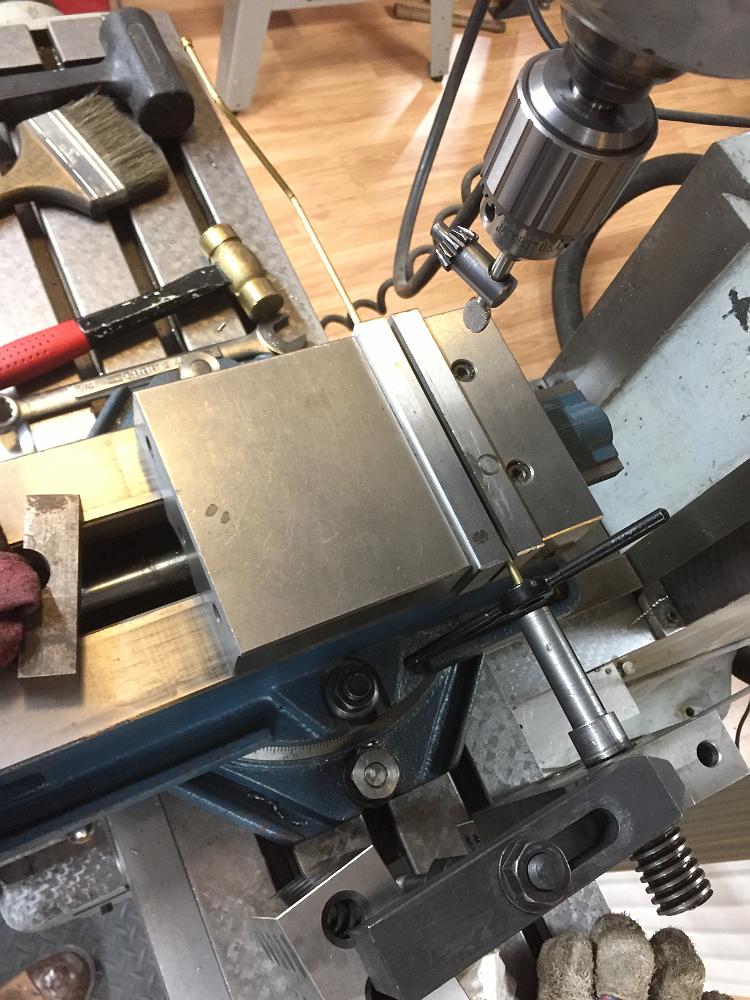
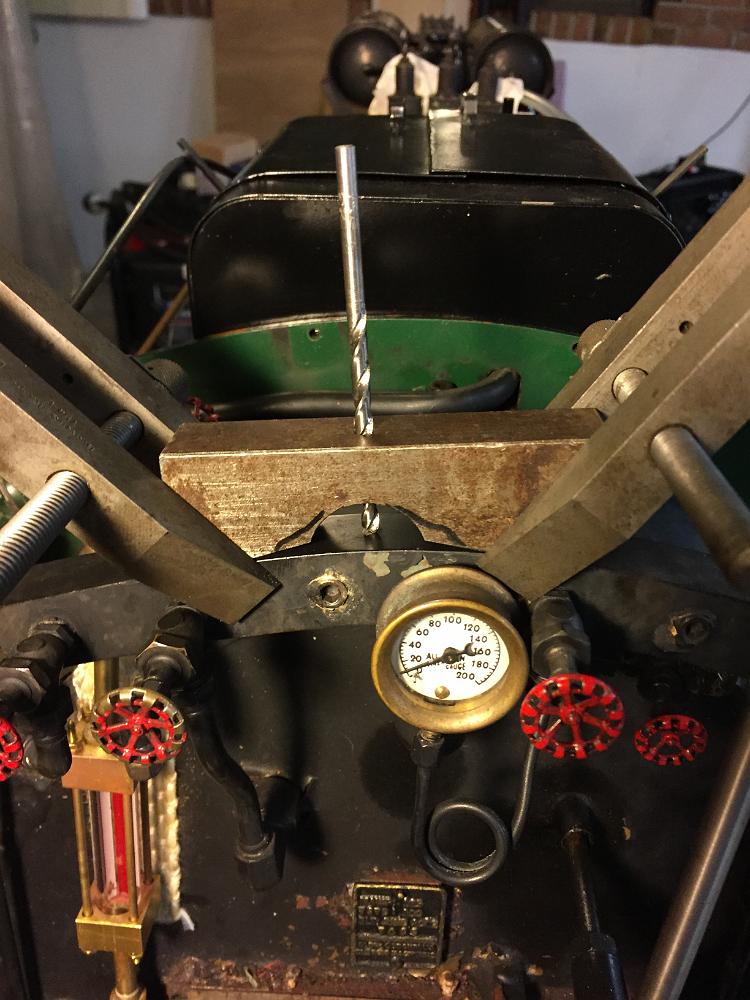
2019-02-11 - I prepare to drill a new hole in the steam manifold for the cylinder cocks valve using a drill guide from a scrap of metal.