Up one level Neidrauer Live Steam Locomotives Photo Albums » A small locomotive - 'The Crab' - The first locomotive out of the Neidrauer Shops
A small locomotive - 'The Crab' - The first locomotive out of the Neidrauer Shops
2018: Installed new exhaust pipes because the old steel ones developed leaks. 2011: The modified grease fittings work great! The Crab has some lettering on it (NYC), the riding car is working fine and the new NYC Gondola works well as a two person passenger car. Time to burn some more coal! Winter 2011 - The Crab is readied for the summer season. We are experimenting with modified grease fittings as cylinder cocks. August 2010 - a mild overhaul was completed. Pulled the cab, bunker, boiler and chests, remade the ash pan, eliminated the troublesome axle pump, added a new handpump and steam injector. May 2010 - The water pump ram is jamming in the pump bore, causing the wheels to lock up. It will be replaced with an injector. Also the graphite string piston rings will be replaced because they are leaking. August 2009 - Improvements to the water pump and riding car made. *** November 2008 It's Done It Runs!! *** First steam up ever during the Thanksgiving holiday and it ran great! I am so happy!

Previous page At last page 65-127 (of 127 found)
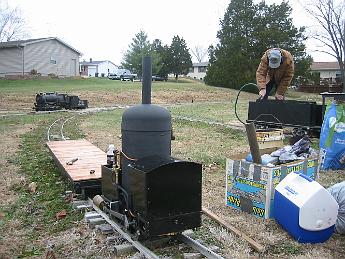
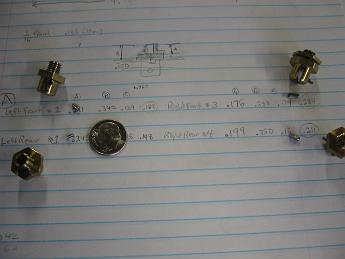
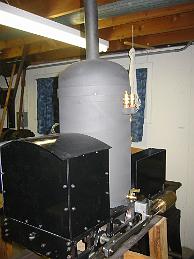
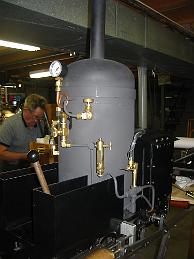
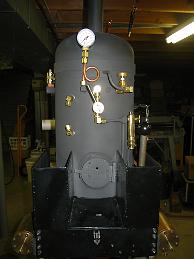
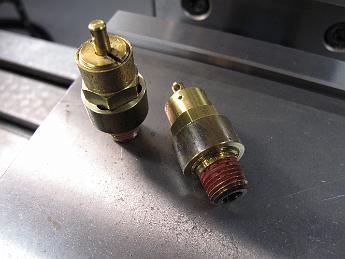
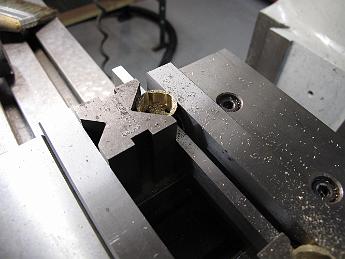
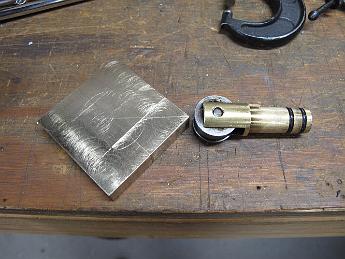
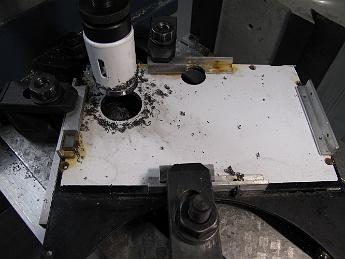
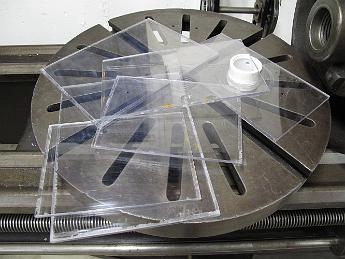
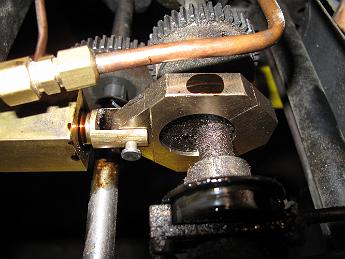
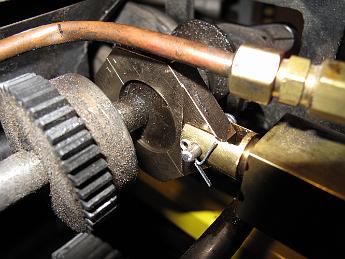
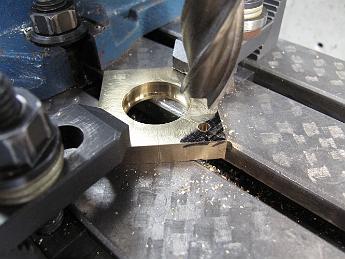
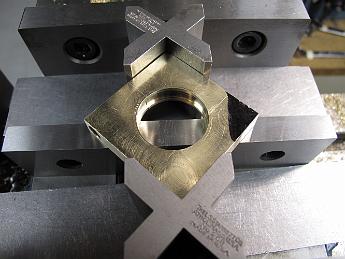
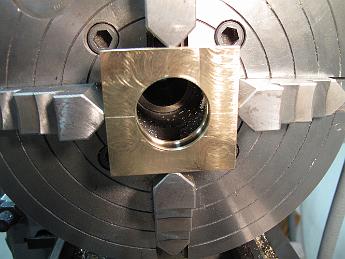
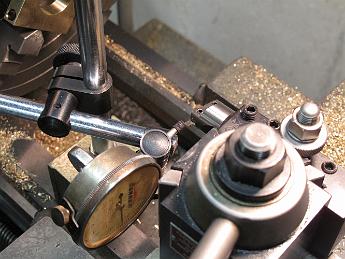
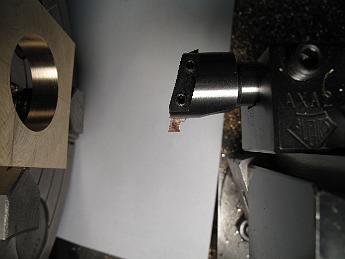
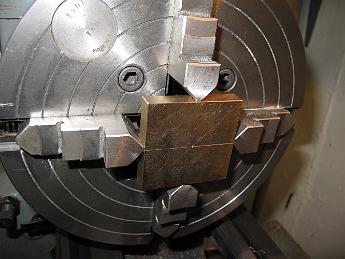
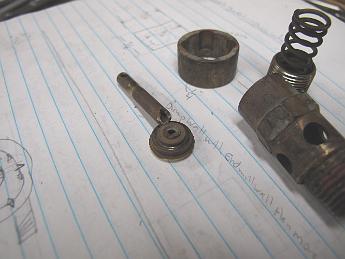
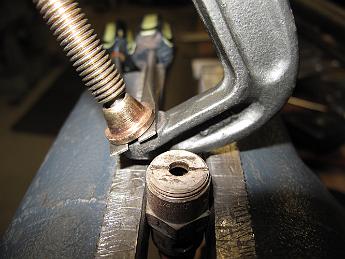
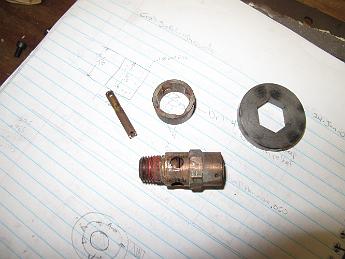
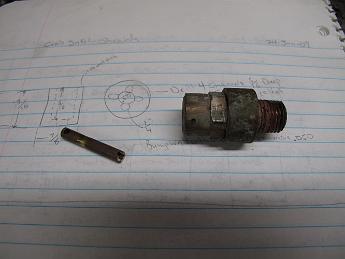
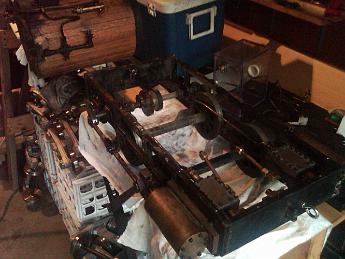
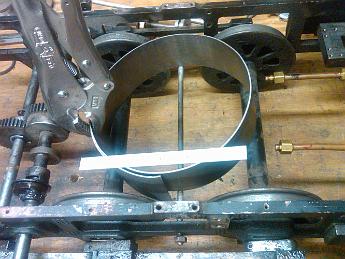
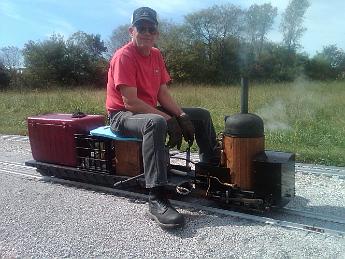
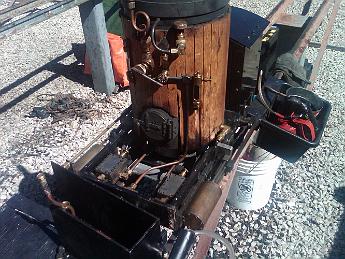
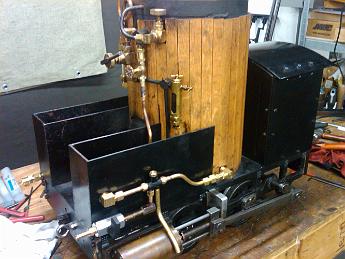
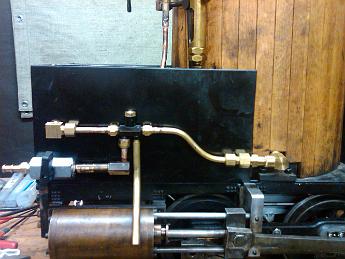
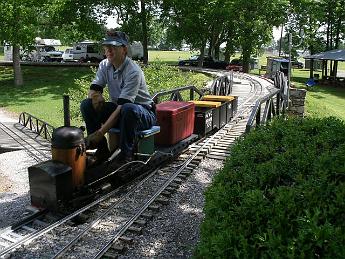
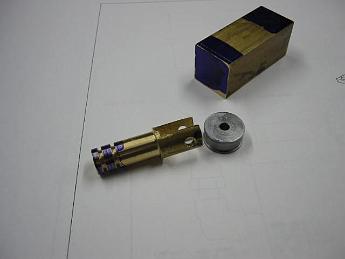
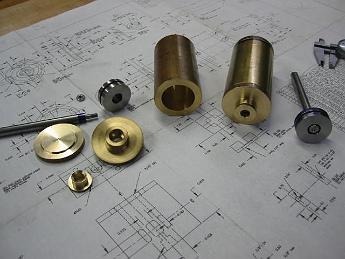
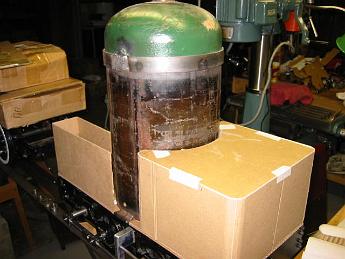
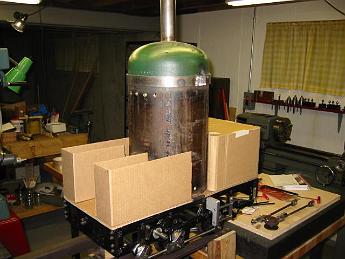
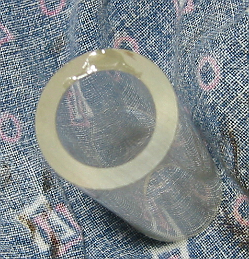
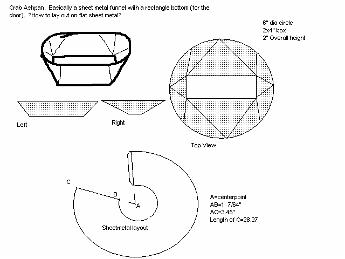
FirstSteamUpEver29Nov08 002 Saturday, 29-Nov-08, a steamup at Tim M.'s private track at his house. The crab is unloaded and a borrowed flatcar is the engineers seat.  To the right John T. fills the tender of his freshly shopped Atlantic, Tim's consolidation awaits its master in the background. CrabCylinderCockPlungers28Nov08 003 28-Nov-08 The final very tiny parts for the Van Brocklin design cylinder cocks.  Cutting the grooves in the .200 long pins, and cutting them to length was a pain. CrabComingTogether19Nov08 003 Forward end of the loco.  The flat black boiler is in contrast to the shiny cab. CrabComingTogether19Nov08 002 Along with the plumbing, the Cab and Bunkers are finished. CrabComingTogether19Nov08 001 19-Nov-08 It's coming together! I just need to install a sight glass and the plumbing will be complete. CrabSafetyValveModifications24Jan09 002 The modified air safety valves with shroud installed. CrabSafetyValveModifications24Jan09 001 Making a shroud for the safety valves.  This will direct the steam upwards instead of out. CrabWaterPumpModifications9Sept09 003 Layout concept for the waterpump eccentric strap.  Material used was Alloy 954 bronze, 2 CrabWaterPumpModifications9Sept09 001 9-Sept-09 Machining one-half of the Bronze eccentric strap. CrabFlatCarBrakeInstallation16Sept09 005 The brake mechanism is quite simple, all the parts are from the scrapbox. CrabFlatCarBrakeInstallation16Sept09 004 Assembly view of the car brake. CrabFlatCarBrakeInstallation16Sept09 002 Design concept layout for a 'Friction Brake' plate-style car brake. CrabFlatCarBrakeInstallation16Sept09 001 Modifications to the Crab: cutting a hole in the cab floor for the water tank 1/4 NPT drain valve with a hole saw. CrabWaterTank_TakeNoTwo9Sept09 9-Sept-09 While Bill was working on the new water pump eccentric strap, I took another shot at the leaky water tank.  Thinking I might make it out of PVC sheet instead of plexiglass I try to pull the old tank apart to figure out how much material I would need.  The old tank just fell apart in my hands with little effort.  The acetone glue never really melted the plexi enough to for a good glue joint. After gluing a test piece of plexi with PVC/CPVC cement, I decide to re-glue these pieces together again, and also cover the seams with silicone caulk. I also installed a drain in the tank, which oddly, the plans do not call for. CrabWaterPumpModifications9Sept09 015 The new assembled water pump eccentric strap.  The dark smudge on the top of the strap is steam oil covering the oil hole.  With just a little time on the track this shiny new part will be covered in coal cinders like the rest of the moving parts! CrabWaterPumpModifications9Sept09 014 Backside view of the finished strap.  We cut the rest of the corners on the strap to give some more clearance. CrabWaterPumpModifications9Sept09 012 Clamping set up #2 - successful!  After finding the center of the strap, we move over, drill the ram mounting hole and machine the strap end down to the proper thickness. CrabWaterPumpModifications9Sept09 011 Clamping setup #1 to machine the ram mount--a failure.  This setup shifted the two halves of the strap, removing our ability to indicate the hole to find the center, which is needed for the next machining operation.  If you look closely, you can see parting line in the eccentric hole showing how the two parts have shifted. CrabWaterPumpModifications9Sept09 010 The bored eccentric strap showing the finished groove.  This is necessary to keep the strap captive on the eccentric. CrabWaterPumpModifications9Sept09 009 Using a dial-test indicator to insure the side of the cutter is parallel to the ways, insuring the groove is cut to the proper depth. CrabWaterPumpModifications9Sept09 008 Boring the strap with a special profile tool which will allow us to turn an inside groove.  The small HSS toolbit is held in a small boring bar, which is held in the Aloris AXA quick-change tool holder. CrabWaterPumpModifications9Sept09 004 The two halves of the strap, bolted together, are chucked in the 4-jaw and centered for the boring operation. BrokenSafetyValve14May2010 009 Here is the disassembled valve. The stem broke where it meets the valve disk. BrokenSafetyValve14May2010 006 A poor man's spanner wrench -- two screwdrivers held with a c-clamp.  Hey, it did the job. BrokenSafetyValve14May2010 004 Here's the valve with the shroud pushed off. I just happened to have a steel washer with the same size 11/16 BrokenSafetyValve14May2010 001 8-May-10 While at J. Schmidt's house Saturday for an invitational steamup, the valve seat guide rod broke off. Much to the entertainment of Bill and Tim, the stem flew up and hit me on the top of my head while I was bending over. I thought someone threw something at me! IMG00111-20100625-2011 2010-06-25 Boiler and deck removed to re-work the ash pan IMG00148-20100815-1407 2010-08-15 - new ashpan design design work IMG_2902 2010-08-25 - Taking a page from Greg Glos at Mid-South Live Steamers, I pick up a stainless steel air cylinder to use as a hand pump. IMG_2901 2010-08-16 -- Yet another ashpan design is constructed. IMG_2900 2010-08-16 - drilling holes for the new ashpan before cutting and bending operations. IMG_2899 2010-08-16 - mock up of new ashpan IMG_2892 2010-08-11 - wear marks on the cylinder valve chest IMG_2891 2010-08-11 - Examining wear on the valve faces IMG_2890 2010-08-11 - Wear on the valve face IMG00165-20100925-1120 2010-09-25 - Bill at the throttle at the Big Creek & Southern track IMG00164-20100924-1344 2010-09-24 I think we had a stuck check valve, requiring the coal bunker deck removal to unstick. IMG00163-20100919-2237 2010-09-19 - New English injector installed and plumbed IMG00162-20100919-2152 2010-09-19 - New English injector installed and plumbed. IMG_2923 2010-09-18 - New ashpan installed IMG_2922 2010-09-18 - Milling new steam line hole in side of bunker IMG_2921 2010-09-18 - new water line run from engineers car hand pump. IMG_2920 2010-09-18 - adding new in-line check and tubing adapter for new injector. IMG_2919 2010-09-18 - Newly painted ashpan design #3 ready for installation. IMG_2918 2010-09-18 - Machining ash pan hinge mounting bracket IMG_2915 2010-09-15 - Steam line with SuperScale quick opening valve installed for new injector. IMG_2913 2010-09-15 - Drilling out stuck boiler plug IMG_2912 2010-09-15 - hammering a square Ez-out into stuck boiler plug. New Engineers Car 2010-09-08 - Bill tests the new handpump location on the Engineers Car IMG_2903 2010-09-15 - Worm's eye view of the locomotive before teardown and modifications to the ashpan and water delivery systems. IMG_2987 16-Oct-2011 Showing off the new hand pump, plumbing, paint job and gondola. IMG_2985 16-Oct-2011 Trainset in a truck! Newly painted red water tank, new gondola and newly plumbed Crab ready for some fun at the SLLS fall meet. IMG_3201 2015 The new seat / coal bunker. Lift the seat to fill, scoop from the front. I designed it, Dad constructed it, I finished the metal bunker. Could use a coat of paint and some padding for the seat! IMG_3200 6-May-2011 Mid-South Live Steamers, TN. The full trainset: The Crab, Engineers car with new coal-bunker seat, and two-passenger NYC gondola. gedc0421 6-June-2011 Mid-South Live Steamers, crossing the high bridge with a clear stack! Crab_Parts_Oct_2002 005 I started working on the water pump assembly.  Shown is the pump ram made from brass, and follower roller in steel.  Waiting with layout blue ends is the pump body.  Based on the drawings, I will scribe lines in the layout blue showing where the cuts and holes need to be.  Oct-2002. Crab_Parts_Oct_2002 001 September and October 2002 were all about lathe work, brass and stainless steel.  Here are the cylinder assemblies, two each.  The stainless steel work was on the pistons and rods.  The cylinders were bored out to 1.375 Crab_Parts_Oct_2002 008 27-Oct-2002.  Alternative layout for the water tank.  The plans call for a square, windowed box to simulate a modern cab, which doesn't look right to me at all.  Here I've fashioned a rounded tank that hugs the boiler.  I think it would look really Crab_Parts_Oct_2002 007 27-Oct-2002.  I started prototyping the coal bunkers and water tank for the locomotive.  I'm not happy with what the plans call for, so I will probably do something of my own design. IMG_0052 Machining the Yokes out of aluminum. Aluminum is fun to cut compared to steel! It is easy to machine and more forgiving if you are using a not quite sharp cutter. I'm actually making two parts out of one piece of aluminum and in the final step of cutting them apart. CrabReadyForSteam28Nov08 001 Friday night, 28-Nov-08. Final test on air before taking it out tomorrow and putting it under steam. (.avi movie) LubricatorGlass During the inagural run of the crab, the hydrostatic lubricator leaked all over the place and did not seem to work.  Back in the shop a teardown revealed a big chip out of the bottom of the 3/8 CrabAshPan 2006 - Here are my design thoughts for the ashpan.  I can make a cone out of sheet metal easy enough, but how do I put a rectangular opening on it??
Page 2 of 2 At last page